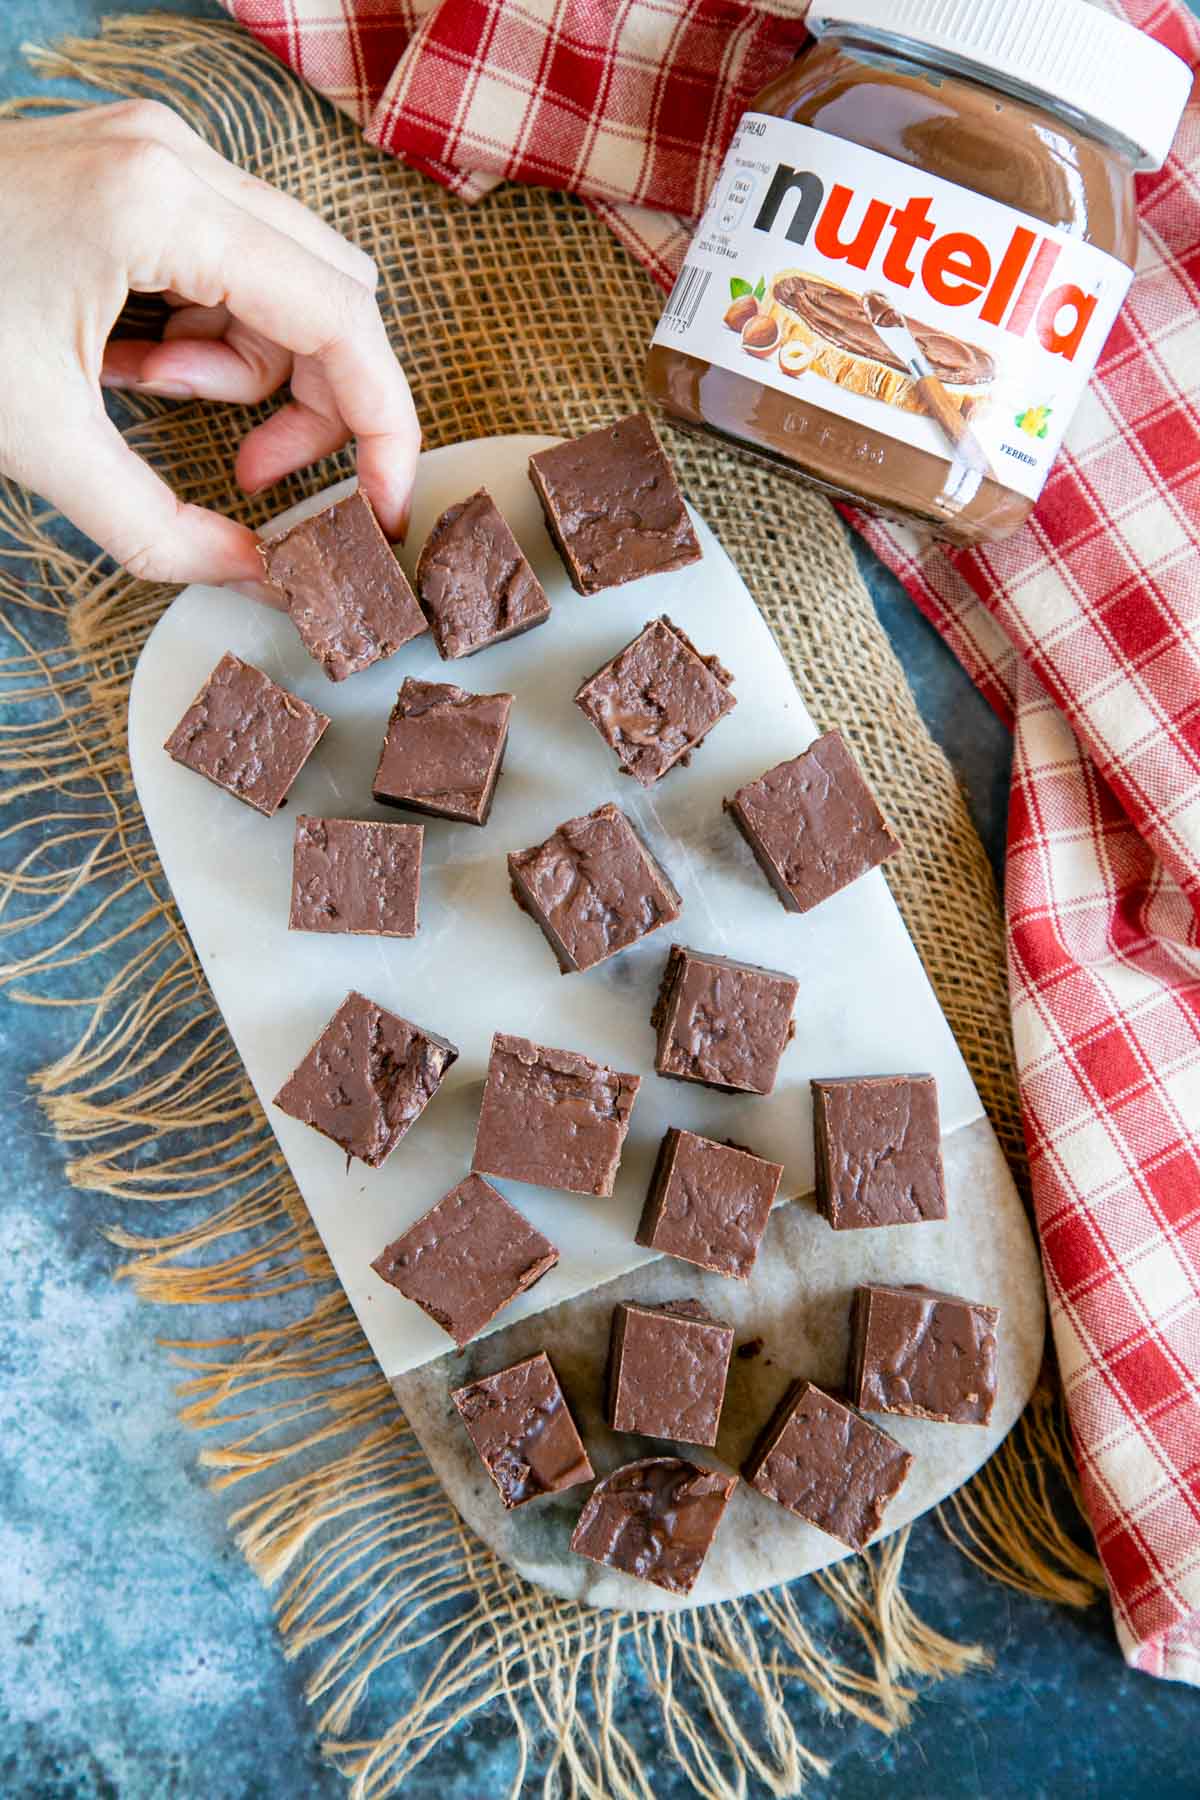
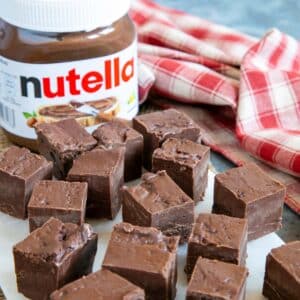
This gorgeous 3-ingredient Nutella fudge recipe produces the smoothest and most delicious chocolate hazelnut fudge with next to no effort. Perfect for adults and children alike, it’s a wonderful homemade treat for all the family.

Easy Nutella fudge recipe
Condensed milk is the key to the easiest, fuss-free fudge recipes and this Nutella chocolate hazelnut fudge is no exception. There’s no boiling sugar and absolutely minimal mess, but your friends will never know it!
See Also
- If you love Nutella you will love my Nutella Bread and Butter Pudding
- Biscoff fudge is also really easy to make
- Everything you need to know on how to make fudge
Chocolate and hazelnut is a combination that everyone loves and popular spreads like Nutella make it so easy to incorporate into your favourite recipes.
Rich and indulgent, this fudge is stylish enough to serve as a final flourish to a fancy dinner party or make as a gift for friends. Yet it is such an easy recipe that it’s a great one to make with kids too.
The heating stage of this recipe can be done in the microwave, on the stove top or even in the slow cooker, making it incredibly flexible. Why would you not want to make it?
Why you will love this Nutella fudge!
- This chocolate hazelnut fudge is incredibly easy to make.
- Just 3 ingredients!
- With no boiling required, it’s a child-friendly recipe.
- Minimal hands-on time.
- It is easily scalable.
- Fool-proof and great for new cooks.
- The fudge is fantastic!
Easy chocolate hazelnut fudge ingredients

- Condensed Milk – Make sure you use condensed milk and not evaporated milk. You will need half a standard can, which is 395 g / 14 oz in the UK, the USA and Australia.
Use the other half to make a double batch, a batch of a different fudge or one of my ice creams, or freeze it for next time.
- Chocolate – You don’t need expensive chocolate drops for this Nutella fudge recipe. I just buy a bar of supermarket chocolate. I like a combination of dark and milk but you can use one or the other.
- Nutella – or your favourite chocolate hazelnut spread.
Small batch condensed milk fudge recipe
Condensed milk fudge does keep, but the texture is so much better when it is fresh. I like to make a smaller batch more often, rather than make more and let it start to dry out.
I make fudge using half a can of condensed milk, yielding 18–24 squares. This lasts about a week. If I were to make more, it would probably still last us a week but we would be piling on the pounds!
If you want to use the rest of the condensed milk right away, why not try a no churn ice cream? Alternatively, you could make a different fudge. Try my recipes for Biscoff fudge, easy coffee fudge or After Eight mint fudge.
Fuss Free Tip
You can freeze leftover condensed milk, but take care to store it in a watertight container or make sure you keep it upright.
Because condensed milk does not freeze solid it will make an awful mess of your freezer if you allow it to escape.
How to make Nutella fudge
First, prepare the tray
You need a baking pan, tray or mould to set the fudge in. Prepare this first. A regular plastic takeaway tray (4″ x 6″) is ideal and I always save them. They last well and can go through the dishwasher many times.
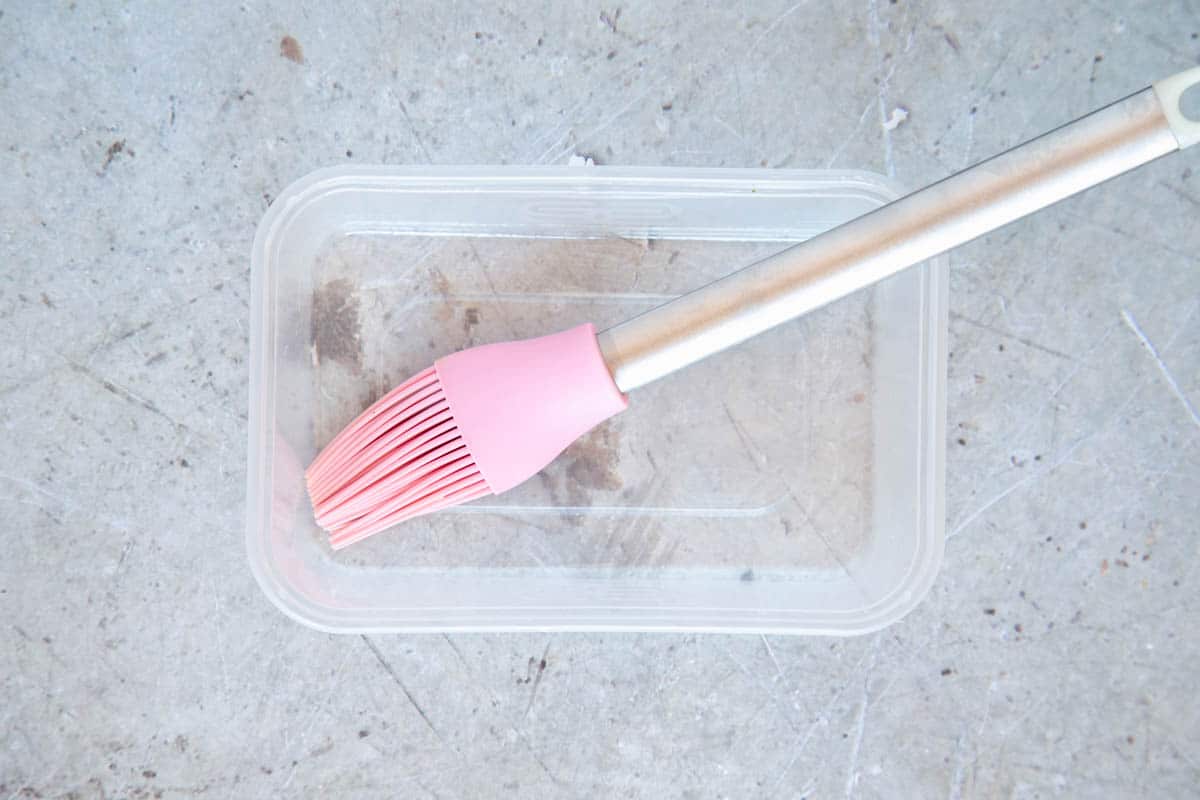
If you are using a flexible mould, simply brush it with oil or cake release spray. You will need to line a rigid pan with parchment paper. If you want to make a larger batch, either use two trays, or a 7–8″ (18–20 cm) square pan.

Step One – Pour the condensed milk into a microwave-friendly bowl or jug. I prefer a jug, because it makes life easier. Add the Nutella and break the chocolate into chunks before adding this too.

Step Two – Microwave on half power in 30 second bursts, until the chocolate starts to melt. Stir well after each turn in the microwave.
The total time needed will vary with the microwave and how firm your chocolate is. Go slowly so that the chocolate melts very gently. Never boil this type of fudge, because the chocolate will seize, split or go grainy if you overheat it.
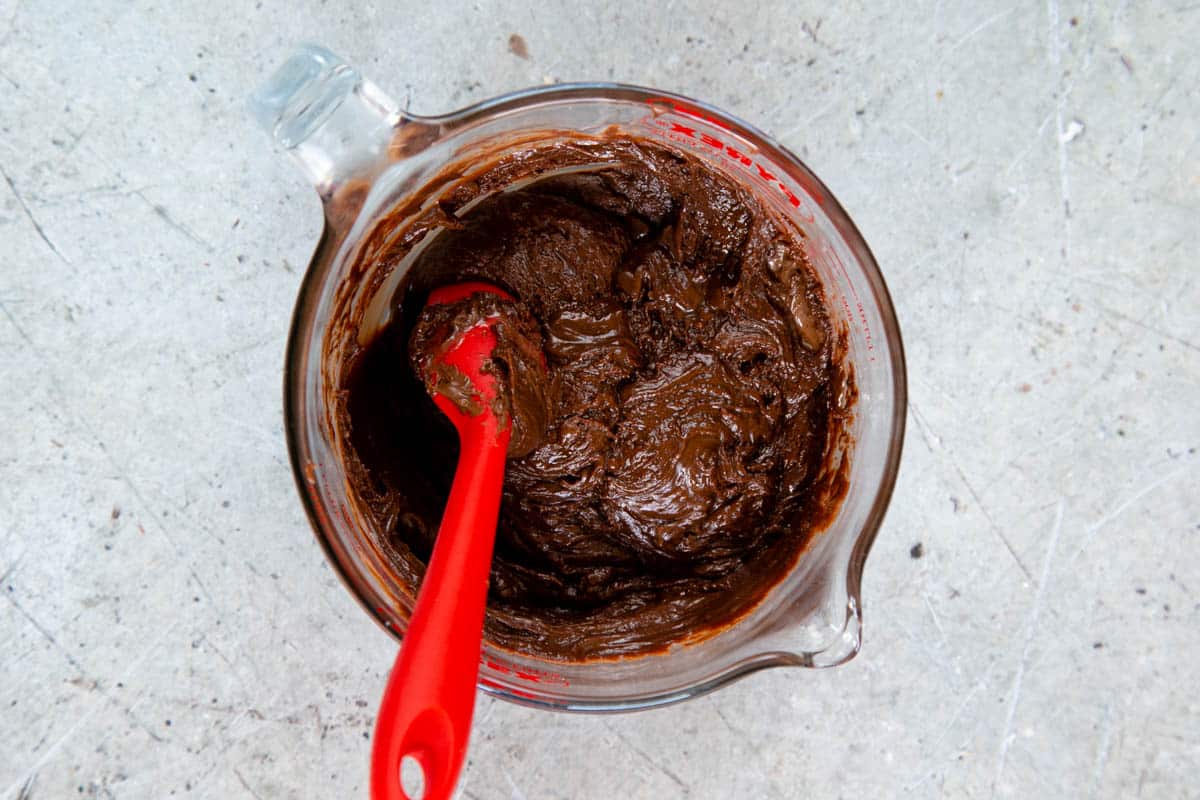
Step Three – When the chocolate seems close to being melted, stop heating. Stir very thoroughly so that the remaining chocolate melts in the residual heat. If you can’t get rid of all the lumps, you can return it to the microwave for another 10–20 seconds.

Step Four – Pour the hot chocolate hazelnut fudge into the prepared mould. Smooth the surface. Let the fudge cool and then place the tray in the refrigerator to set. This will take a couple of hours, if not longer.
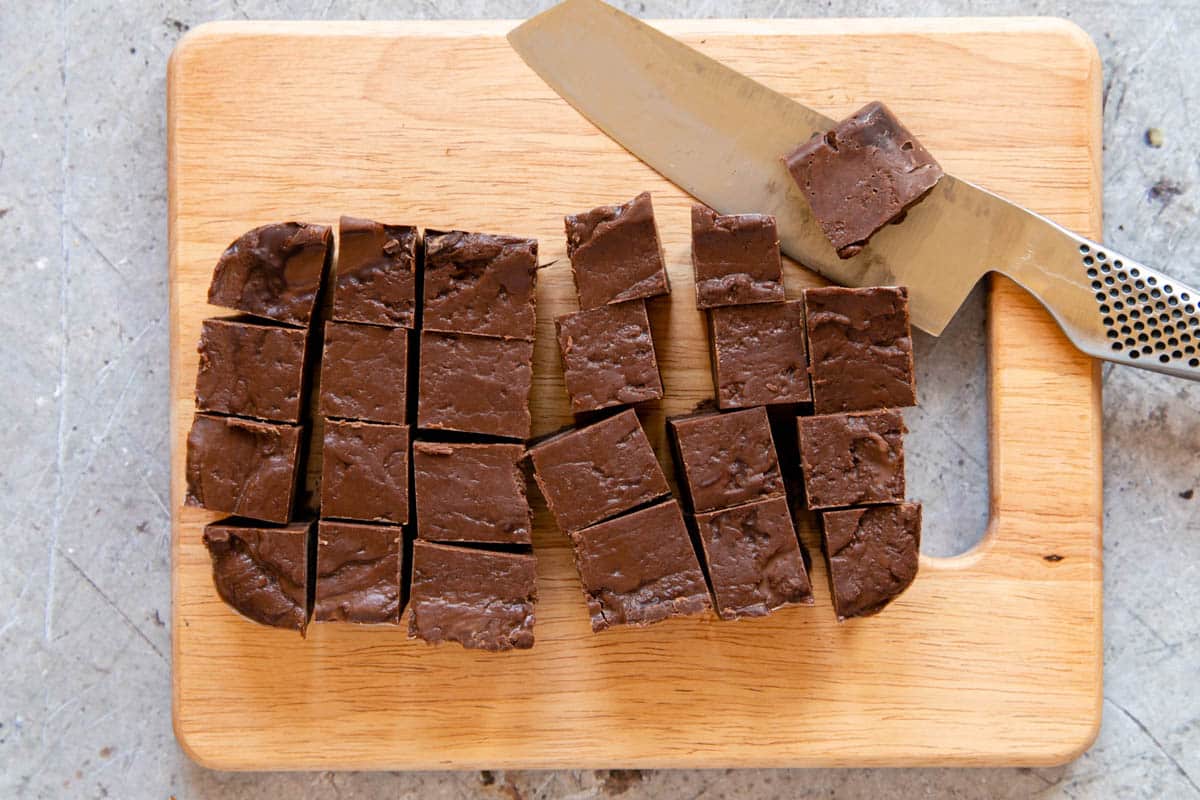
Step Five – When the fudge has set, take it out of the mould. If you used a flexible mould, you can remove it by flexing the sides and then turning it upside down, giving the base a tap to release the fudge. Should you find that you can’t get the fudge out, put it in the freezer for ten minutes and try again.
If you used a rigid baking pan, simply lift the fudge out with the parchment you used to line the pan.
Finally, cut your chocolate hazelnut fudge into squares with a heavy kitchen knife. Keep it in a covered container in the fridge until you are ready to eat.
Easy chocolate hazelnut fudge without a microwave
I find the microwave method the easiest way to make this quick Nutella fudge recipe. It is, however, also very easy to make it in a saucepan on the stove top.
Step One – First, prepare the tray.
Step Two – Break up the chocolate. Then put all the ingredients in a saucepan.
Step Three – Warm the pan on the lowest heat (use a diffuser ring if you have a gas stove). Once the chocolate starts to melt, stir constantly until the ingredients are thoroughly combined with no lumps.
Step Four – Pour your chocolate hazelnut fudge into the tray. Smooth the top. When it is cool, put it in the fridge to set for 4 hours or overnight.
Slow cooker method
Slow cookers are a great way to melt chocolate, so you can use the slow cooker for this recipe if you prefer. You just use it as a bain marie.
Step One – Put all the ingredients in a jug or bowl. Then stand it in the slow cooker. Add a few inches of boiling water to the slow cooker pot around the jug.
Step Two – Set the cooker on low. Leave the lid off because if you don’t, you may get condensation dripping into your fudge mix.
Step Three – Stir the fudge from time to time, taking care not to get any water into the mixture. When you have a smooth mixture, carefully remove the bowl or jug.
Step Four – Pour your Nutella fudge into the tray. When cool, transfer it to the fridge and leave it to set.
Read my full tutorial on how to make slow cooker fudge
Variations
If you like, you can stir in some toasted pieces of hazelnut or top with whole or half nuts.
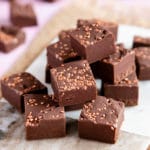
Add a few flakes of sea salt to your Nutella fudge.
Storage
I recommend storing this type of fudge in an airtight container in the fridge. Bring it up to room temperature before serving.
FAQs
This 3 ingredient Nutella fudge recipe will last for at least a week if you have the willpower to leave it. Beyond that, the texture will deteriorate. The fudge is at its best in the first few days.
I recommend it! Chocolate chips for baking work out much more expensive. Just use a bar of chocolate.
Condensed milk keeps for a few days in the fridge, but will last for months in the freezer.
Use spare condensed milk to make one of my no churn ice cream recipes, or to make a second batch of fudge. You can explore my collection of fudge recipes or you could experiment with other flavours, using this recipe as a guide.
More recipes you will love
- Chocolate hazelnut smoothie – all the healthy stuff with an added Nutella hit!
- All the best easy fudge recipes
- Two ingredient Toblerone fudge
- Easy three ingredient chocolate coffee mocha fudge
Easy Nutella Fudge
Ingredients
- ½ can (14 oz) condensed milk (200 g / 150 ml)
- 150 g Nutella (or other chocolate & hazelnut spread)
- 200 g chocolate (mix of milk and dark chocolate)
Instructions
- Prepare a tray by lining it with parchment paper (if rigid), or simply oiling it (if flexible).(If you are making a half can of condensed milk batch of fudge, a regular takeaway tray is the ideal size! If making a larger batch, either use two trays, or a 7–8" (18–20 cm) square pan.)
- Pour the condensed milk into a microwave-proof jug or bowl. Add the Nutella, and break the chocolate into pieces before adding this too.
- Put the jug in the microwave on half power and heat in 30 second bursts, stirring well each time. Stop before the last pieces of chocolate are fully dissolved.
- Give the mixture a good continuous stir until the last of the chocolate has melted and the mixture is smooth.
- Pour the Nutella fudge into the prepared tray, and smooth the top. Allow to cool and then place in the fridge to set for about 4 hours.
- Cut into squares, ready to serve. Store the fudge in a covered container in the fridge.
To make on the stove
- Prepare the tray.
- Break up the chocolate and put it on top of the milk. Put all the ingredients in a saucepan.
- Set the pan on the lowest heat and once the chocolate starts to melt, keep stirring it. Do not leave the pan, as it can rapidly overheat. If this happens, the mixture will split, spoiling your fudge.
- When you have a smooth mixture, pour the fudge into the tray. Smooth out the top and once cool. put in the fridge to set for 4 hours or overnight.
To make in the slow cooker
- Prepare the tray or tin. Break up the chocolate and put all the ingredients in a bowl or jug.
- Stand the jug in the slow cooker. Add a few inches of boiling water to the slow cooker pot so that it surrounds the bowl.
- Set the cooker to low. It is essential that you leave the lid off, because you do not want the water to condense drip into your fudge.
- Stir the fudge occasionally, taking care not to get any water into the mixture. The chocolate will melt and combine with the other ingredients. When you have a smooth mixture, carefully remove the bowl or jug.
- Pour the fudge into the tray and when cooled, allow to set in the fridge for about 4 hours.




Leave a Reply