My medlar jelly recipe is easy to make and a great way to show off this lesser known fruit. Perfect on toast, served with cheese or cold meats, or to sweeten stews and gravies. Hunt out some medlars in late autumn and get jellying! Just three ingredients and no pectin needed.

Medlar jelly
I love this medlar jelly recipe, particularly because it’s not a preserve that is commonly (if ever) found on supermarket shelves or recipe books. Medlar jelly has a delicious, spiced apple flavour, a little floral but not as much as quince jelly. I love it spread on a toasted crumpet, but it also makes a delicious accompaniment to cheese, particularly blue cheeses, and cold meats.
You can also stir a spoonful into the gravy of red meats for an extra layer of flavour.
With something this versatile, a couple of jars are a store-cupboard essential.
What are medlars?

Medlars are the fruit of the medlar tree, a small flowering ornamental tree popular with gardeners. The fruits are about the size of small apples, and range from golden yellow to a blush red when ripe. They have a distinctive indentation that to some resembles a dog’s backside. They are inedible when picked, and need to be bletted.
The combination of a little extra effort and a quirky appearance may account for why they have fallen out of fashion in recent times. They were popular in the classical world, however, through the renaissance, and into the 19th century.
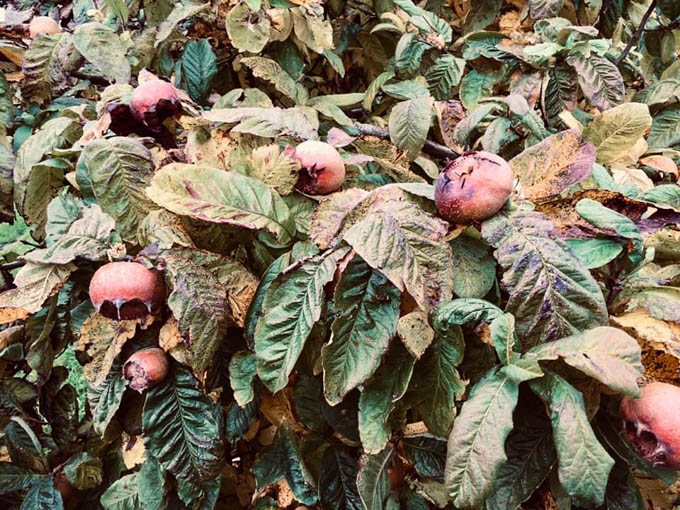
Where can I find medlars?
This can be a little tricky. The fruit is ripe in October and November in the UK, when they turn from a light yellow to a golden colour. It’s best to store them in a cool, dry place not touching each other for six weeks before using to allow them to mature.
Greengrocers may well be able to order some in when they’re ripe, or an online search for “buy medlars” can show suppliers.
What is bletting and why should I blet medlars?

Bletting is a process beyond ripening on the tree that is necessary before you can eat certain fruit – mostly persimmon, quince and medlars, which are generally too hard and acidic to be of much use without bletting. For some fruits, such as rowan berries, bletting is necessary to break down toxins before they can be eaten.
Bletting can begin on the tree and continues when the medlar fruit is stored in a cool, dark place, the acidity breaks down and the flesh becomes softer and sweeter.
How to blet medlar fruit
To blet your medlars spread them out on trays, or newspaper lined boxes, and stored in a cool, dry, dark place covered with a cloth, and they’ll gradually turn from yellow/blush red colours to dark reds and browns.
The fruit also softens at the same time. Keep an eye on the fruit; you’ll find some progressing faster than others. A bletted medlar can turn from bletted to mouldy very quickly, so keep an eye on them!
A well bletted medlar is sweet enough to eat raw with a spoon. You can freeze the fruit once bletted.
I find that using a mixture of bletted and unbletted fruit gives a jelly that sets well and has good flavour, so once most of the fruit is ready, you can make your jelly, keeping the remaining firm fruit in the mix.
How to make medlar jelly – recipe step-by-step
First, blet the medlars. I make medlar jelly with three quarters fully bletted fruit, and one quarter unbletted or only slightly bletted.
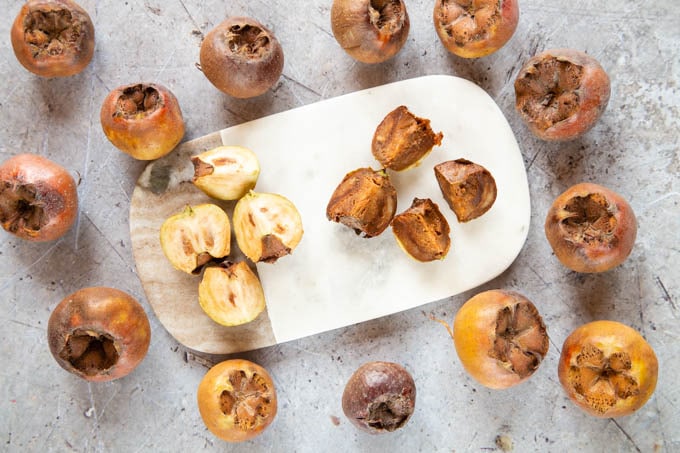
Step one – Cut the medlars, into quarters. You don’t need to core or peel them. Likewise, wash and chop the apple.
You can clearly see the difference between the bletted and non bletted medlars.
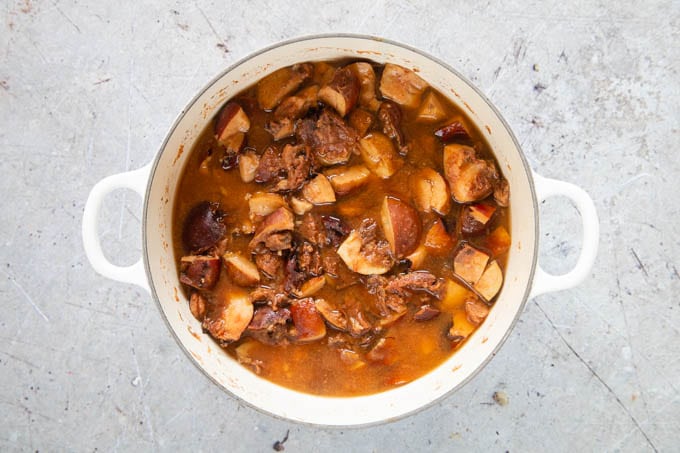
Step two – Add medlars, apple and the water to a large saucepan, and simmer gently until all the fruit is soft. It looks quite unappetising at this stage, but stay with me!
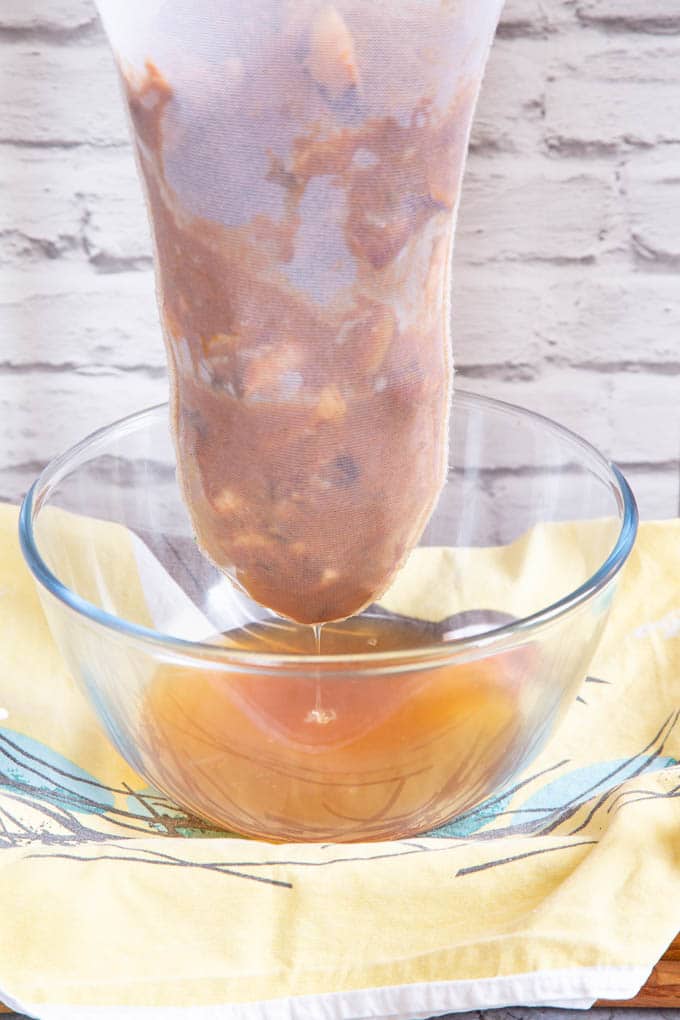
Step three – Strain the fruit through a jelly bag suspended over a bowl. For the clearest results, don’t poke the jelly bag! Leave it for at least 12 hours, until juice stops dripping through. Although the juice will look cloudy, boiling it together with the sugar will give you a clear, bright medlar jelly.
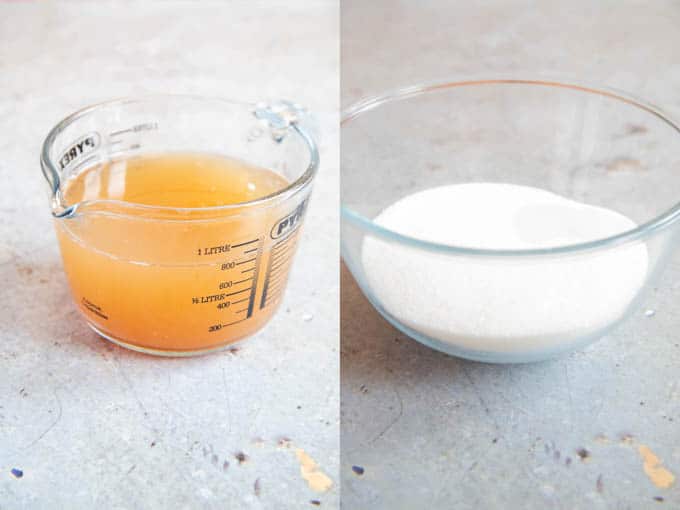
Step four – Weigh the juice, and weigh out three quarters of the weight of juice in sugar. Pour the juice into a large saucepan, and add the sugar and lemon juice. You want the juice to be less than half way up the saucepan to give room for boiling.
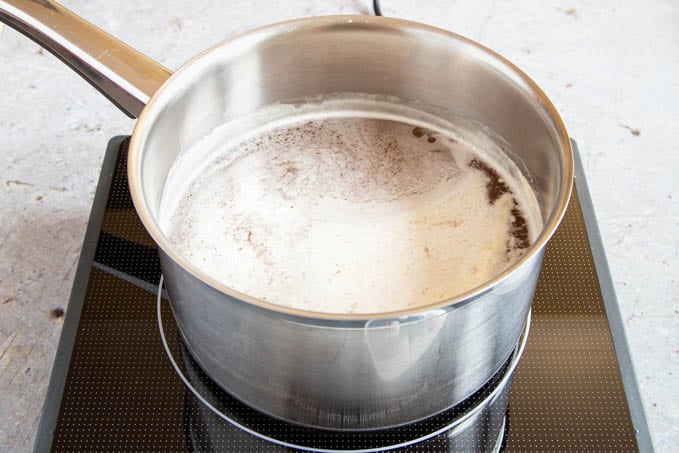
Step five – Return the juice to a large sauce pan, add the sugar and gently heat, stirring to dissolve the sugar. Skim off any scum.
Step six – Place jam jars in a baking tray and warm in an oven set to 140°C / 275°F / GM 1.
Step seven – Turn up the heat to maximum to a rolling boil. Start testing for set.
How to test for setting point
There are three methods you can use to test for setting.
- First, the wrinkle test. Drop a teaspoonful of the liquid onto one of your chilled plates and leave it for a few seconds. Then push the drop of jelly with your fingernail to see whether the jelly wrinkles. If it does, your medlar jelly will set and can be transferred into the hot jars and sealed.
- Second, temperature. Watch the temperature of the boiling liquid. Keep boiling until it reaches 105°C – the setting point. You can use a jam thermometer for this; they’re easily available and not expensive.
- Third, the flake test. Take a spoonful of jelly from the saucepan, and turn the spoon vertical so that the jelly runs out of the spoon. When it starts to thicken, a flake of jelly will hang from the edge of the spoon, showing that you have reached the setting point.
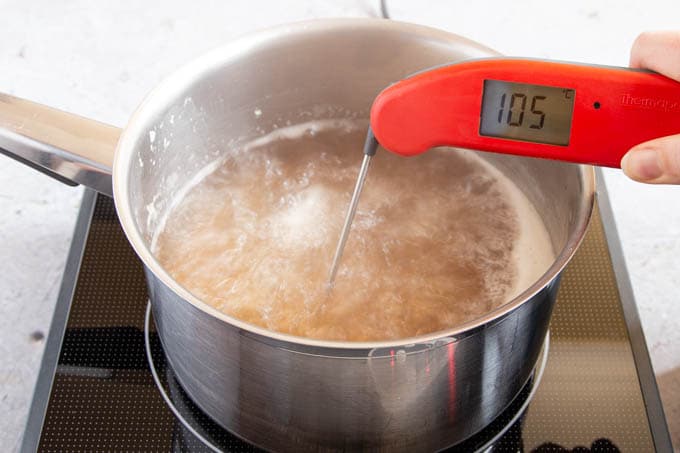
Step eight – Once the setting point has been reached, take the jelly off the heat. Skim off any remaining scum.
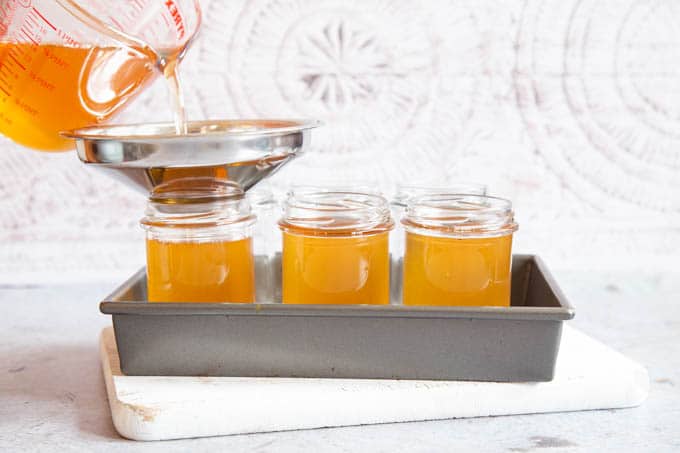
Step nine– Fill the warmed jars. I find the best way is to use a glass jug and a jam funnel.
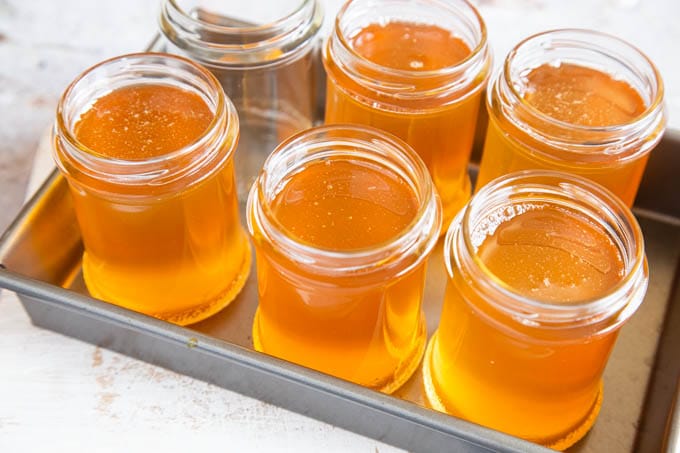
I warm and fill my jars in a roasting dish as a precaution, as in the unlikely event of a jar breaking or cracking it will keep any spills contained.

Step ten – Screw on the lids, taking care, as the jars will be very hot. Allow the jelly to cool. As it does so, the lids will pop down as the vacuum forms. Label and store in a dark cupboard.
Hints and tips for making medlar jelly
- Most of your fruit needs to be bletted. Don’t try to make this medlar jelly recipe with fruit that is all straight from the tree or it will be inedible.
- Don’t overcook the fruit, or the flavour of the final jelly will be lost. Just simmer the fruit gently.
- Never poke or squeeze the bag, as this will result in cloudy jelly.
- If your medlars are bletted and need cooking but you don’t have time to make the jelly right away, then cook and strain and either keep the juice in the fridge for a day or two, or freeze and make the jelly later.
- For best results, tap the jam jar as you fill it, so that any air bubbles come out. It is best to make jelly with straight sided jars. Put the lids back on the jars while still hot, to help seal them tight.
- For safety, I always stand the jars in a tray when filling them in case one cracks. This has only happened to me once, but having a tray to catch any hot jelly is far safer.
- Use any plain white sugar – granulated or caster. You don’t need preserving sugar as there is plenty of pectin in the lemon juice and fruit.
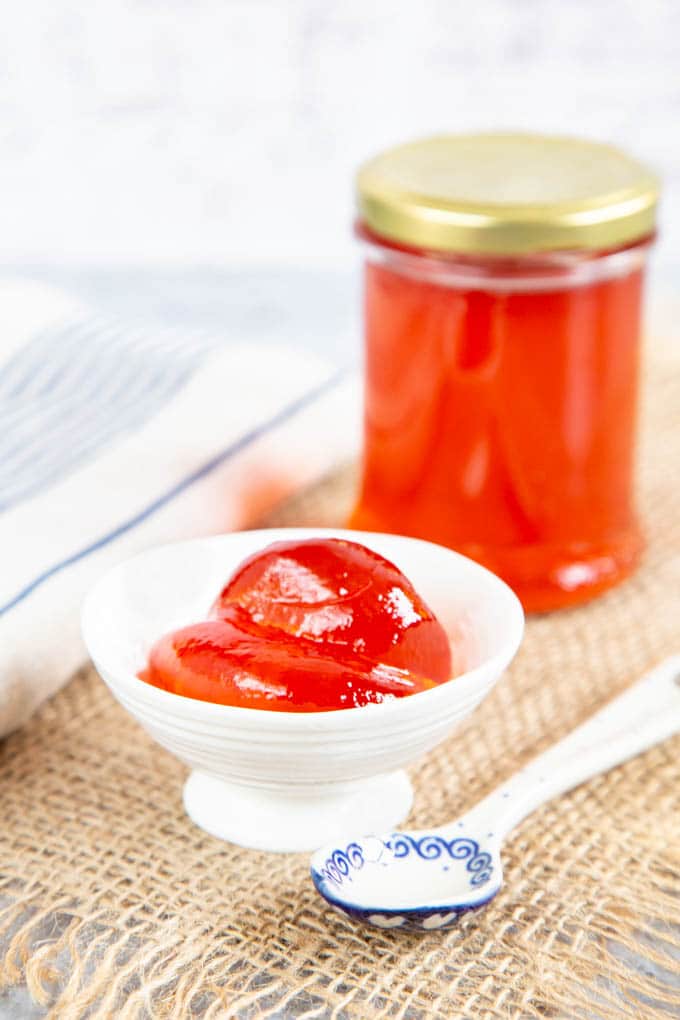
Medlar Jelly
Ingredients
- 1.4 kg medlars
- 1 apple (or a handful of crab apples)
- ½ lemon
- 1.2 litres water (see recipe )
- granulated sugar (see recipe for quantities)
Instructions
- Allow the fruit to blet, by placing them in a cool, dry place in a single layer. They're ready to be made into jelly when about ¾ of your medlars are dark brown and soft.
- Cut the fruit and apple into quarters. Add to a large saucepan with the water.
- Bring to the boil and simmer gently until all the fruit (including the unbletted fruit and the apple) is soft. This will take about 15–20 minutes.
- Spoon the fruit into a jelly bag and suspend it over a bowl to catch the juice. Leave to drain for about 12 hours, until no more is dripping out. Don't poke or squeeze the bag.
- Weigh the juice, and weigh out 75% of the fruit weight in sugar. Add juice, sugar and lemon juice to a large saucepan. The saucepan should be no more than half full.
- Place clean jam jars in the oven, and heat to 140°C / Gas Mark 1. Place the lids in a bowl and cover with boiling water.
- Heat the saucepan gently to dissolve the sugar.
- Once the sugar has dissolved, increase the heat to bring the jelly to a rolling boil. Start testing for set, using either wrinkle, flake or temperature method.
- Once setting point has been reached, take the jelly off the heat.
- Fill the jam jars with jelly, and screw on the lids. Allow to cool. Store on a cool, dark shelf.
Notes
- Don’t overcook the fruit, or the flavour of the final jelly will be lost. Just simmer the fruit gently.
- Never poke or squeeze the bag, as this will result in cloudy jelly.
- If your medlars need cooking but you don’t have time to make the jelly right away, then cook and strain and either keep the juice in the fridge for a few days, or freeze and make the jelly later.
- For best results, tap the jam jar as you fill it, so that any air bubbles come out. Put the lids back on the jars while still hot, to help seal them tight.
- For safety, I always stand the jars in a tray when filling them in case one cracks. This has only happened to me once, but having a tray to catch and hot jelly is far safer.
- Use plain white sugar – granulated or caster. You don’t need preserving sugar as the lemon juice contains enough pectin.
- This recipe is 1 Weight Watchers Point per portion






Jacqueline Filkins
Clear instructions and fuss free recipe. Thank you!
Linda Ellis
This is a really good recipe to follow. I did my jelly in 2 batches so had different weights of fruit. Easy to follow ratio of fruit/sugar/water. The jelly has a lovely colour to it. One question though. Do you have to leave the jelly to ‘mature’?
Helen Best-Shaw
You absolutely can, I find with a few months in the cupboard it will gain some more colour, and flavour and a soft set jelly will obtain a deeper set.
Tim Fairless
You can force medlars to blet by putting them in your freezer for a few days then allowing them to thaw. This treatment emulates the first frost of winter after which medlars were picked traditionally. They turn brown and soft very quickly and then can be used.
Claire
What do you advise if your jelly has not set? Can it be reboiled?
Helen Best-Shaw
it can. I have a post on how to fix runny jam.