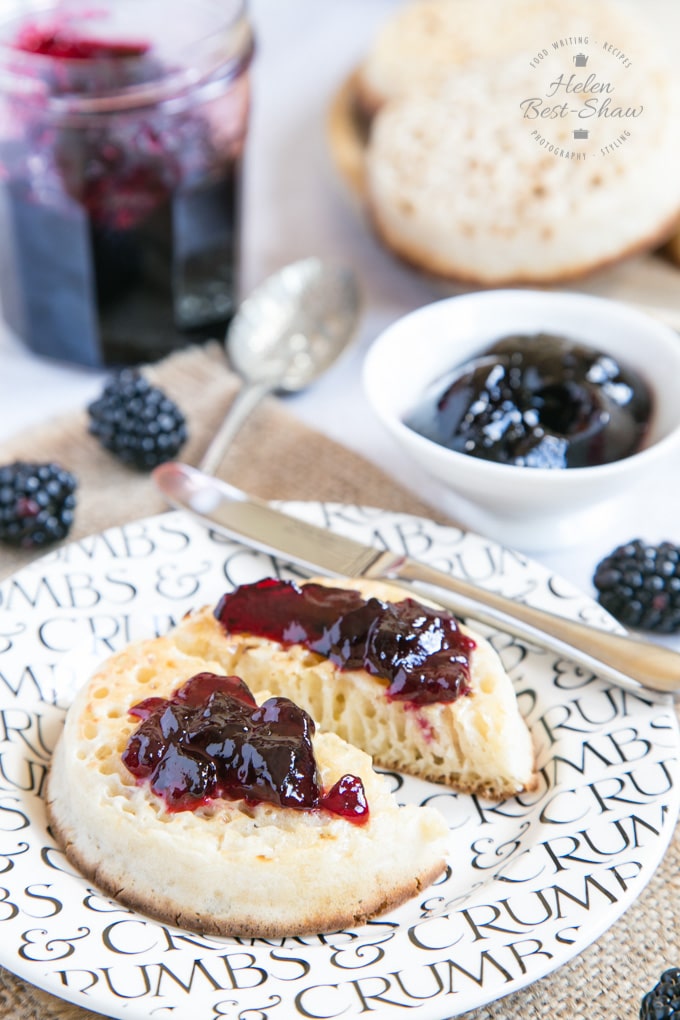
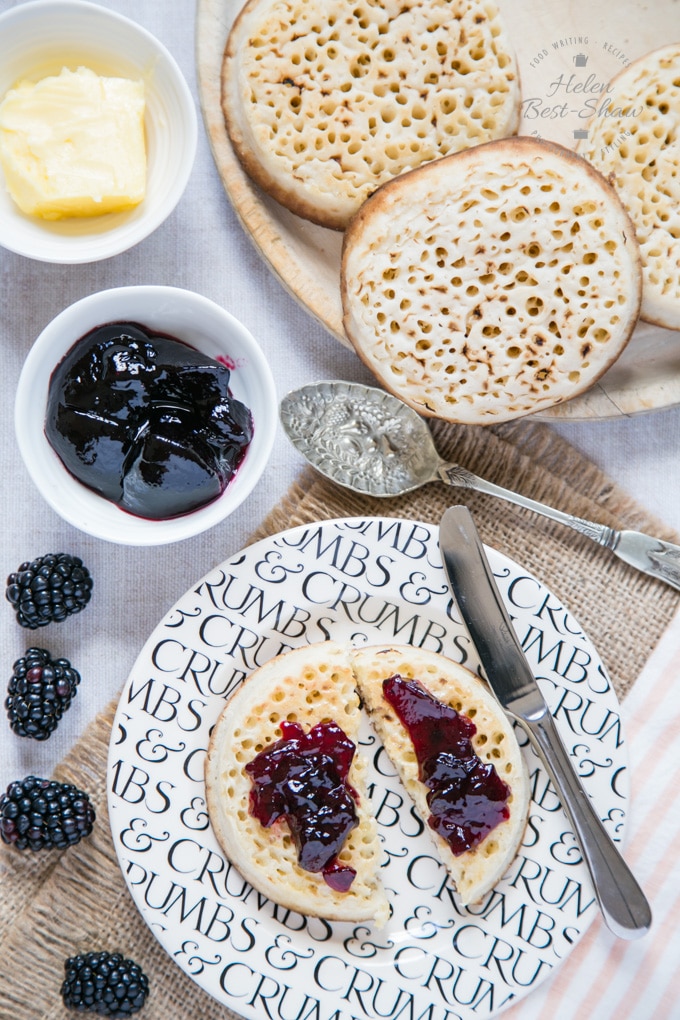
This easy to make one pot blackberry jelly is bursting with flavour; turn a few minutes foraging into this delicious preserve that’s perfect for breakfast or as a tea-time treat.
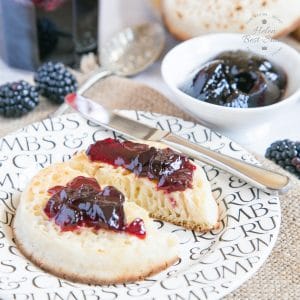
Perfect on a hot buttered crumpet! A project for a beginner to preserving. Vegan and naturally gluten free.
One Pot Blackberry Jelly
Come blackberry season this one pot blackberry jelly is a great way to preserve those delicious woodland flavours. Making this jam isn’t an all day process; it only takes a few minutes to pick about one litre of blackberries, and then about 30 minutes turning it into a wonderful pot of fresh tasting preserve. This yields about one 300ml jam jar, or 320g of jelly. It’s the ultimate expression of small batch preserving.
You don’t need specialist equipment to make this jelly. A saucepan, a sieve or colander and a tea towel or similar cloth is about it. A jelly bag is useful but absolutely not essential. One of the great things about making jelly is that you don’t need to worry about the fruit settling out in the jars, only the set point.
I love making preserves from foraged and thus free fruit.
Tips for Foraging
When you forage make sure you’ve got all required permissions before go. I avoid picking blackberries from hedges next to busy roads, and always pick above the height a dog can reach, but wherever I’m picking, long trousers, a long-sleeved top and leather gloves are useful to minimize scratches from brambles.
The great advantage of making this jelly from foraged and thus free, wild berries rather than buying cultivated ones is that the smaller, less sweet wild varieties have more pectin than the large, sweet commercial varieties. We usually deliberately pick a few under ripe ones too as they are packed with pectin which will help the jelly set.
Why Small Batch Preserving
We are total converts to small batch preserves – I went preserving mad about 10 years ago; it is SO addictive, and made enough to last us for a decade!
- Small batch means you need no special equipment to make jams and jellies
- Small batch means you use fewer ingredients so can experiment more with techniques, ingredients and flavours without wasting too much when it goes wrong
- Small batch preserves come to setting point faster so that are quicker to make – you can easily make a few jars in less than an hour
- By making less jam you eat (and gift) it quicker so you don’t need lots of storage space – unlike chutneys – jams generally don’t improve with age
- The more batches you make the better you become at making jams and jellies so the more you will make. preserving is addictive!
How Do I Make One Pot Blackberry Jelly?
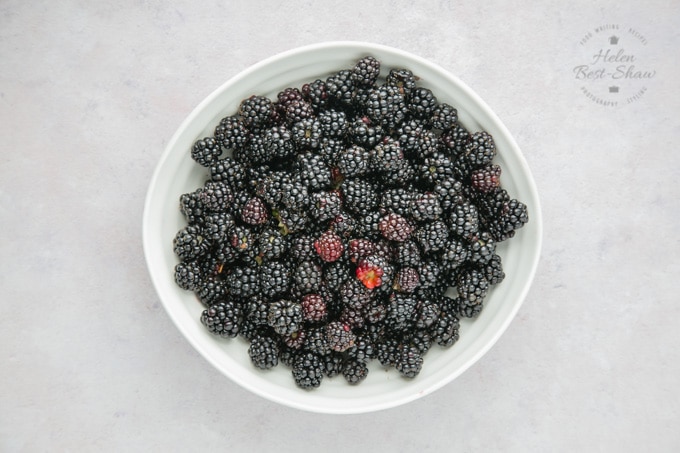
First, pick your blackberries. You’ll need about a 450g / one lb or a litre in volume. A plastic tub of M&S chocolate mini-rolls full is almost exactly right. If needed, wash the blackberries and discard any that are over ripe.
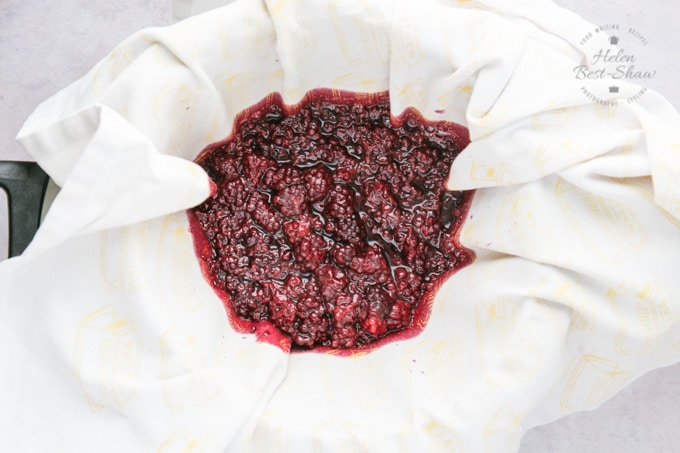
Second, pop the blackberries in a saucepan with a teaspoon or water and cook over a low heat until the fruit is soft. You can help things along with a potato masher.
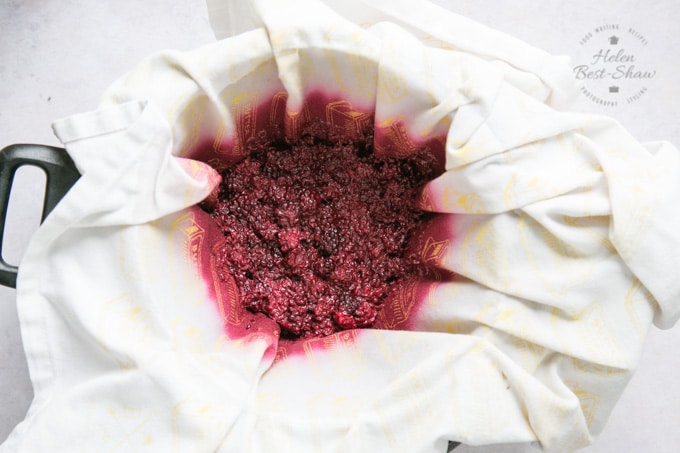
Third, strain off the blackberry juice. If you do have a jelly bag, use that, but it’s not necessary. Just line a colander or sieve with an old tea towel, fill with the cooked blackberries and let the juice drip out.
Leave it for 12 hours or so – overnight is perfect. As always, don’t squeeze or poke the bag/tea towel or you’ll get cloudy jelly. To speed things up you can gather up the corners of the cloth pop a bulldog clip on them and then hang over a bowl.
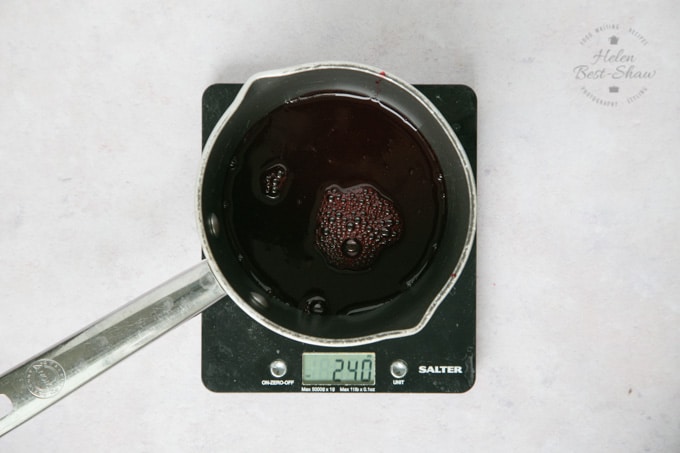
Fourth, measure how much juice you have, transfer to a large saucepan and add three-quarters of this weight in sugar. Also add 1 dessertspoon of lemon juice per cup of juice.
Fifth, heat the mixture over a low heat to dissolve the sugar. Put a clean jam jar in the oven, and set it to about 100°C/220°F/Gas Mark 1.
Sixth, once the sugar has dissolved, turn up the heat to make the blackberry jelly set. Once the jelly has reached a rolling boil, skim off any froth, and start testing to see if its reached a setting point. The high levels of natural pectin in blackberries, along with the added pectin from lemon juice, mean that this is a relatively easy jelly to make. Once it has reached setting point allow to cool for a few minutes.
3 ways of testing jelly setting points
- The temperature test. Really accurate electronic jam thermometers are readily available, and not expensive. They are much easier to read than traditional jam thermometers. Heat the jelly to the setting point, stir to eliminate any hotspots and recheck.
- The wrinkle test. Place a couple of side plates in the freezer before you add the sugar. Once the jelly is boiling, start testing by placing some on the plate. Allow it to cool on the plate; when you push your finger through the jelly, you’ll see it wrinkle up ahead of your finger. This technique takes a bit of practice.
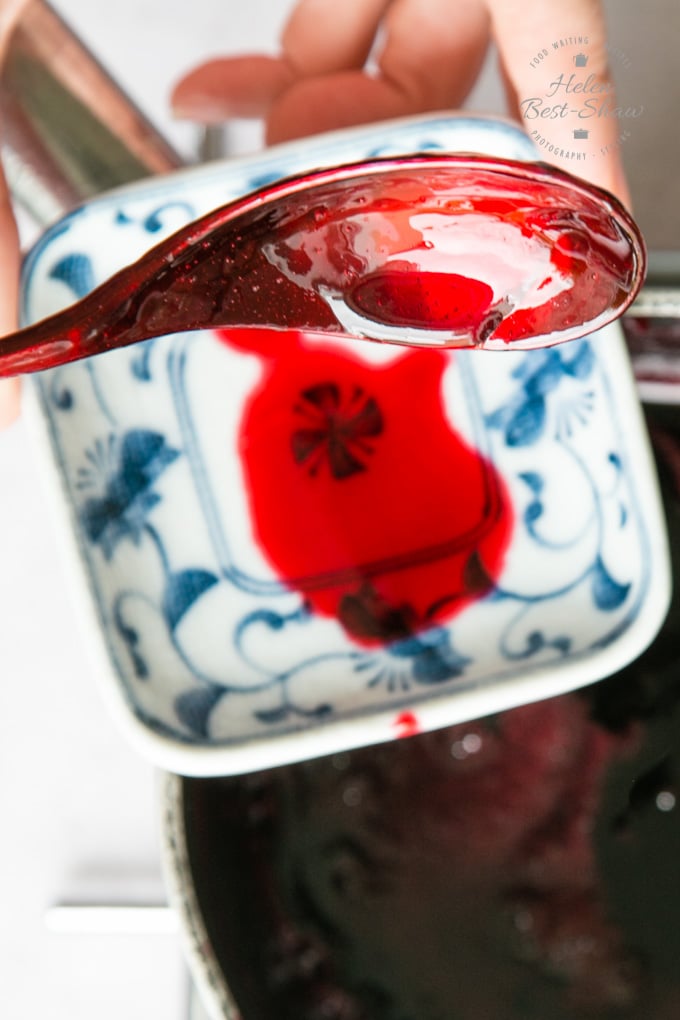
- The flake test. Take a spoonful of jelly from the pan and turn it vertically to tip out the jelly. If the jelly runs off, it hasn’t set. If, however a little remains on the spoon in a sort of wide drip that doesn’t fall, then the jelly is ready. Again, this works best with some practice.
Finally, transfer to the jam jar (a jam funnel helps here), and seal with the lid. It rarely happens but occasionally the jar can crack, I always stand my jars in a roasting tin once filling, just in case. Allow to cool fully. If you have any excess jelly, spoon it into a small bowl for immediate enjoyment.
For more small batch blackberry preserves try our easy blackberry jam, or our blackberry and apple jelly.
One Pot Blackberry Jelly
Ingredients
- 1 lt blackberries
- 1 dsp lemon juice
- sugar (see instructions. 75% of juice weight. )
Instructions
- Wash and drain the fruit if needed and in a good sized saucepan, gently simmer the fruit for about 10 – 15 minutes until soft. If you didn't wash the fruit, add one tablespoon of water.
- Strain through a jelly bag or muslin lined sieve for at least 1 hour, and preferably overnight
- Weigh the juice. Transfer to a saucepan and add 75% of this weight in sugar. Place a jam jar in the oven, set to 100°C/220°F/Gas Mark 1
- Gently heat to dissolve the sugar, then rapidly boil to setting point 105°C. Test for setting with one of the techniques listed above.
- When setting point has been reached, take off the heat and allow to cool for a few minutes.
- Fill the hot jam jar using a jam funnel. Screw on the lids: take care, as everything is hot. Allow to cool.
Notes
- I only lightly wash foraged blackberries if needed.
- When spooning hot jelly into jam jars, a wide jam funnel is a real help.
- I always stand jam jars in a baking tray when filling them. In the unlikely event that the jar cracks, it means that I'm not faced with jam going everywhere.
- This recipe is 2 Weight Watchers Smart Points per portion









Thanh | Eat, Little Bird
I love preserving too! This blackberry jelly looks so delicious. I hope to try it soon!
Helen
A really enjoyable part of foraging your own berries.
Amelia Jenkin
Blackberry jelly is one of my favorite parts of Autumn eating. So good on homemade scones with a decent cup of tea.
Helen
The perfect way to enjoy.
Kiara C
Making your own jelly is a great idea. I had no idea it was so easy. Yum!
Helen
Really easy, and the more you try (in small bacthes), the easier it becomes.
Laura Benton
I really love foraging, them taking your finds home to make delicious things. Blackberry jelly is a great use of the fruit, and so so tasty.
Helen
Blackberry jelly is a foraging classic.
Tasha
Blackberry jelly would be delicious on toast for breakfast. I shall have to go foraging now!
Helen
A delicious breakfast!
Tanya Stevens
I always seem to come back from blackberry picking covered in scratches, with spiders in my hair! I shall heed your advice next time. Great recipe, I do love delicious homemade jelly.
Helen
I do recommend long sleeves and possibly gloves too.
Tom H
I love your step by step fool proof guide. Great recipe that even I could be successful with. The blackberry jelly sounds delicious.
Helen
Thank you, a step by step guide is always easier to follow.
Mandy
I love making jams and jellies at home. I find it very satisfying, and calming too. Blackberry jelly is a real favourite in our house.
Helen
I really enjoy jam and jelly making.
Jacque Hastert
I would spread this on everything.
Helen
it is SO good. thank you.
Marisa Moore
Love a no-pectin jam! This one is the best way to save those delicious end of season blackberries!
Helen
We love this one – so delicious and intense.
Marc @ NoRecipes
I love how thoroughly you’ve described each step. I usually use the wrinkle method for testing the set on jelly, but I’ve never tried the flake method. I like that you don’t have to plan ahead and chill a plate.
Helen
That is such a good point about the flake test if you forget to chill plate.
Kate
These photos look so delicious! Can’t wait to try this ASAP!
cheflolaskitchen
My children tried this jelly once and loved it! They’ll surely enjoy this one as well!
Jamie
I love how simple and easy this was! Had it on my toast this morning and loved it!
Alina | Cooking Journey Blog
I’m a true fan of blackberries! Your jelly looks so thick and delicious, it is great to store and enjoy after the short blackberry season is over.
Patty at Spoonabilities
This looks so easy, even I may pull off making jelly :) And sooooo yummy! I’ll probably eat it by the spoonful.
Denise
I love making jams and jellies with my summer & fall harvest! This blackberry jelly looks so good.
Irene blackwell
You mentioned the ww smart points per serving, but how much does a serving weigh in grams? Thanks in advance
Helen
A serving is about 2 tsps, so enough for a slice of bread or toast.
Temptation
I’m preparing this Jelly as I type and I can’t wait to taste it! Is there anything that can be done with the left after fruit after leaving to drain overnight? Or is it only fit for the bin? Thank you.
Helen
You could probably dump the pulp in a jar and cover with gin or vodka and then sweeten to taste and strain after a few weeks. Or stew with some apple and sugar.
Julia E Long
Helen,
I’m so glad I found your recipe. I’ve been picking blackberries every day now on our beach for 2 weeks. I have a very small freezer, so your small batch recipe is just the thing. Also, I am a novice jam maker, (but passionate nonetheless!;). Time will tell.
I will let you know how it turns out. First need to purchase the jars and the thermometer.
Thank you from the USA (upper left), more specifically, Washington state on the puget sound/salish sea.
:)
Mailin
I’ve just made the recipe. I had exactly 1 litre of juice which worked out perfectly in regards to measurements, and I now have 5 small jars of jam cooling down. The hot jam tasted delicious, and I can’t wait to try the finished jam once set and cooled