
Homemade marshmallows are so much nicer than shop bought and are so simple to make. My black rose marshmallows are delicious, and gothically on trend as well as really easy, especially with the aid of a stand mixer. Ideal for your Valentine.

Marshmallows are one of the things that really have to be home made. They are so so much better than their mass produced commercial counterparts, as well as surprisingly simple and easy to make. I’ve been making them for a few years now and they are always a joy to create; I love experimenting with flavours, and both eating and giving the results of successful experiments as present. As well as being deceptively easy to make they are also guaranteed to impress when you tell people they are home made.

Two pieces of equipment are essential for marshmallow making at home, a sugar thermometer and a stand mixer such as the Kenwood Chef Titanium. The method is simple, make a sugar syrup with sugar, syrup and water, heat to 120C and then pour onto a gelatine and water mixture and add colouring and flavourings. Then whisk, and keep whisking and then whisk some more; in total the mixture gets whisked for about 15 minutes or so, until the it has cooled to room temperature. The easy way to do this is with a stand mixer; I’ve never actually tried to make them with a hand mixer, and I’m not sure I want to, as I don’t think my arm or mixer would hold out. A stand mixer makes it simple – whack it up to max and let it take the strain.


The resulting mixture is beyond sticky. Pour it into a baking dish lined with oiled cling film and allow to set. It will still be soft and still be very sticky. Once set, turn out, peel off the cling film, cut into cubes (use a pair of sharp scissors with some vegetable oil rubbed into the blades) and dust each one with a suitable fine powder – commonly cornflower and icing sugar, but we’ve used activated charcoal (for extra blackness) and cocoa. They’re ready to enjoy, so tuck in!

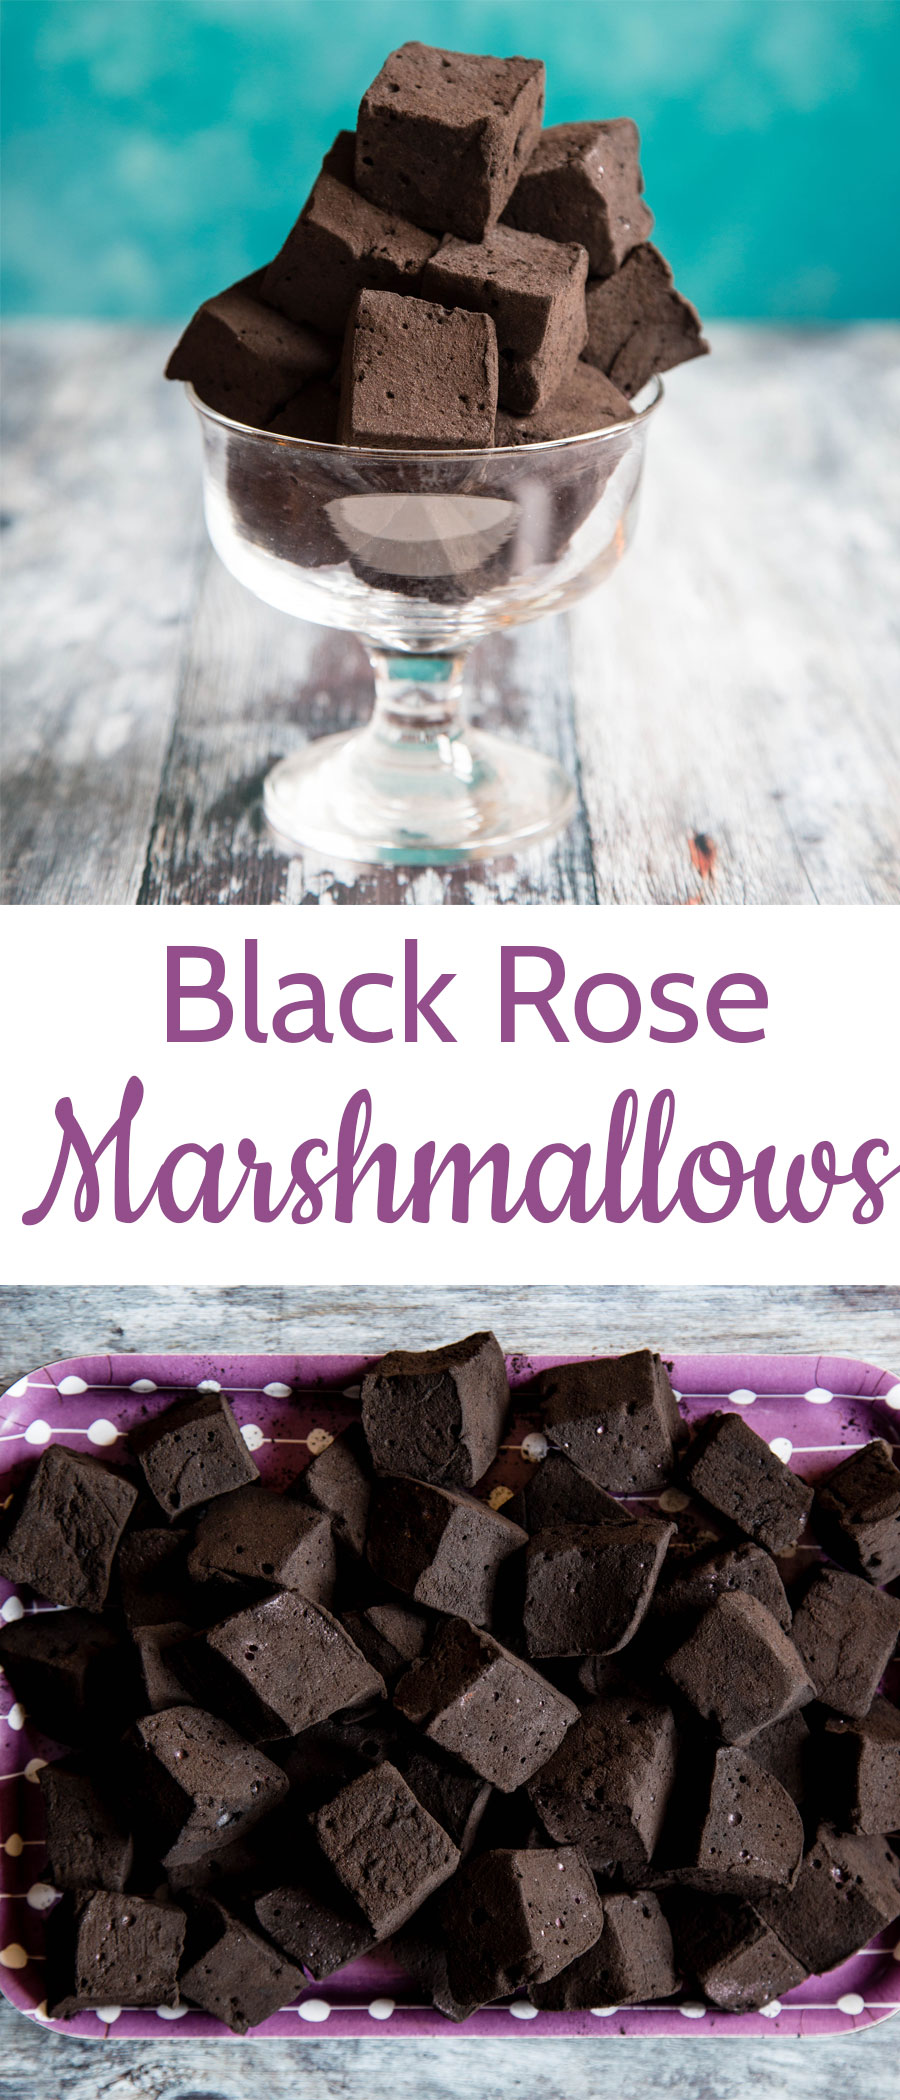
These delicious black rose marshmallows are exactly on goth food trend at the moment too – none of that oh-so-passe, 2017 pastel nonsense. Edible activated charcoal, and black and red food colouring make for a mysterious treat, topped up by dusting them in more activated charcoal and cocoa powder for an extra dash of darkness.

We made these using a Kenwood Titanium Chef KVC7300S. Its powerful 1500W motor didn’t have any problems with anything as easy as this marshmallow mixture. The robust, metal construction of the machine gives off a real feeling of durability with a 10 year motor guarantee. I really like the light illuminating the inside of the bowl, which really helps me see what’s going on as I mix.
As well as the usual bowl and associated tools – whisk, dough hook and beater, the ability to add other accessories such as pasta makers, grinders, or blender jugs make for a real one adaptable machine fits all needs device. Very helpful for those of us with limited storage space.
There are a total of 20 attachments available, so I struggle to imagine the situation that the Kenwood couldn’t deal with with aplomb. There’s even a special bowl and tool to make ice cream! The Kenwood looks really great too, with wonderfully shiny stainless steel bowl and tools (all dishwasher proof, essential in my book). The Kenwood Chef is a real kitchen powerhouse. British design at its best.


Black Rose Marshmallows
Ingredients
Marshmallow mixture
- 2 sachets powdered gelatine (about 20g)
- 120 ml warm water
- 440 g sugar
- 100 g golden syrup
- 200 ml water
- 1 tsb Rose flavouring (Test amount needed)
- 1 tbsp activated charcoal (food grade)
- Black food colouring (Preferably gel colour)
- Dark red food colouring (Preferably gel colour)
For dusting
- 3 tbs activated charcoal (food grade)
- 3 tbs cocoa powder
Instructions
- Mix the 120ml of warm water and the gelatine in the mixing bowl of your stand mixer.
- Place the sugar, syrup and 200ml of water into a heavy saucepan and bring to the boil. Heat gently until the syrup has reached 120C.
- Whilst the sugar is heating, line a baking pan (about 30 x 20cm) with oiled cling film (I pour a small dab of oil on to the film and then scrunch it up to coat it).
- Slowly mix the water and gelatine mixture on a low speed with the whisk to prevent it from setting.
- Once the sugar syrup has reached 120C increase the speed of the mixer to maximum and carefully pour the syrup over the gelatine.
- With the mixer still whisking, add activated charcoal, colouring and rose flavouring. After they've been incorporated, test the mixture for flavour and add extra rose flavour as required.
- Mix at high speed for about 10 minutes until bubble gum like strands form.
- Pour into the prepared pan and leave at room temperature for 2 hours until set.
- Mix the activated charcoal and cocoa powder and liberally dust a board with it, turn the set block of marshmallow out, teasing the cling film from it. With an oiled serrated knife cut the marshmallow into cubes dusting each freshly cut surface with the cocoa mix as you go. I found the cutting was the hardest part of the process, the marshmallow is fairly forgiving and robust so you can pull it around a fair bit.

If you are inspired to make more marshmallows (it gets addictive you know) then you will love my pretty in pink raspberry & vanilla marshmallows.

Recipe for Black Rose Marshmallows commissioned by Kenwood, all opinions our own. Read more about Kenwood


hannah
These look so good. And they look really fun to make too. I like the black rose color of them too
Helen
Such fun to make – especially when the mixture suddenly puffs up!
Emily Leary
These are so beautiful and I can imagine, super tasty! I have a big pot of activated charcoal in my kitchen awaiting some creative uses, so I shall be making these soon.
Helen
Thanks Emily, they are indeed delicious!
Helen
Oh I had no idea marshmallows were so easy to make. Rose flavoured sounds really interesting and I love that they are black. How easy is the saucepan to wash up afterwards?
Helen
Very easy to wash – I soak it and all the sugar dissolves.
Bread
I didn’t know you could make marshmellows at home!!! My mum just gave us her stand mixer so I know what I’m gonna use it for!!!
Helen
So easy to make at home, but you have to have that stand mixer, and a sugar thermometer!
Erin Ek Rush
Oh I agree.. homemade marshmallows taste nothing like store bought ones.. they’re so much nicer. These looks fantastic
Helen
You simply cannot beat the homemade quality.
Kaz | Ickle Pickles Life and Travels
I have never seen marshmallows like this, they look awesome! Kaz
Helen
Such fun to make, and so different from the usual shop bought version.
Sheri - A Busy Bee's Life
I have never thought about making marshmallows at home before. I love how this can be done and ready in less than 45 mins!
Helen
So easy to make at home.
Amy
Yum! These look and sound so delicious – and so easy to do at home by myself too. I will definitely be trying!
Helen
So easy to make, and so very moreish.
David @ Cooking Chat
I have to say I never would have thought to make homemade marshmallows before reading this. Seems pretty do-able!
Helen
So good David, worth making.
Demeter
Wow, love that you used activated charcoal in this. It gives it such an amazing color!
Helen
I love the deep colour, so effective.
Annemarie
These look so good! My kids would be so excited to try them.
Helen
Very tasty, and moreish.
Lisa | Garlic + Zest
I’m curious about these marshmallows — they’re so dark — did they stain your backboard?
Helen
Sadly the activated charcoal wrecked my backboard! it has the consistency of photocopier toner and sticks to everything. I’ll add a note about this.
Liv @ Healthy Liv
What a fancy treat for Valentine’s Day! These would be so delicious in hot cocoa, too!
Helen
They would be amazing topping some cocoa! What a good idea
Ruth
Any suggestions for vegetarian gelatin as the mixture went a white colour but never actually thickened even after 20 min mixing?
Had sugar thermometer so I know that the sugar syrup was correct and the gelatin appeared to bloom before adding syrup
Helen
Hi Ruth,
I’ve never had any luck with vegetarian gelatin, I’ve tried and it really never seems to work. I think that you need additional ingredients to help stabilise it.