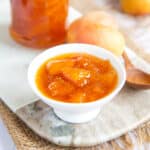
Summer peaches, sweet, fragrant and luxurious, and tasting of golden summer days. Savour that summer moment in the depths of winter with this delicious homemade peach jam recipe.
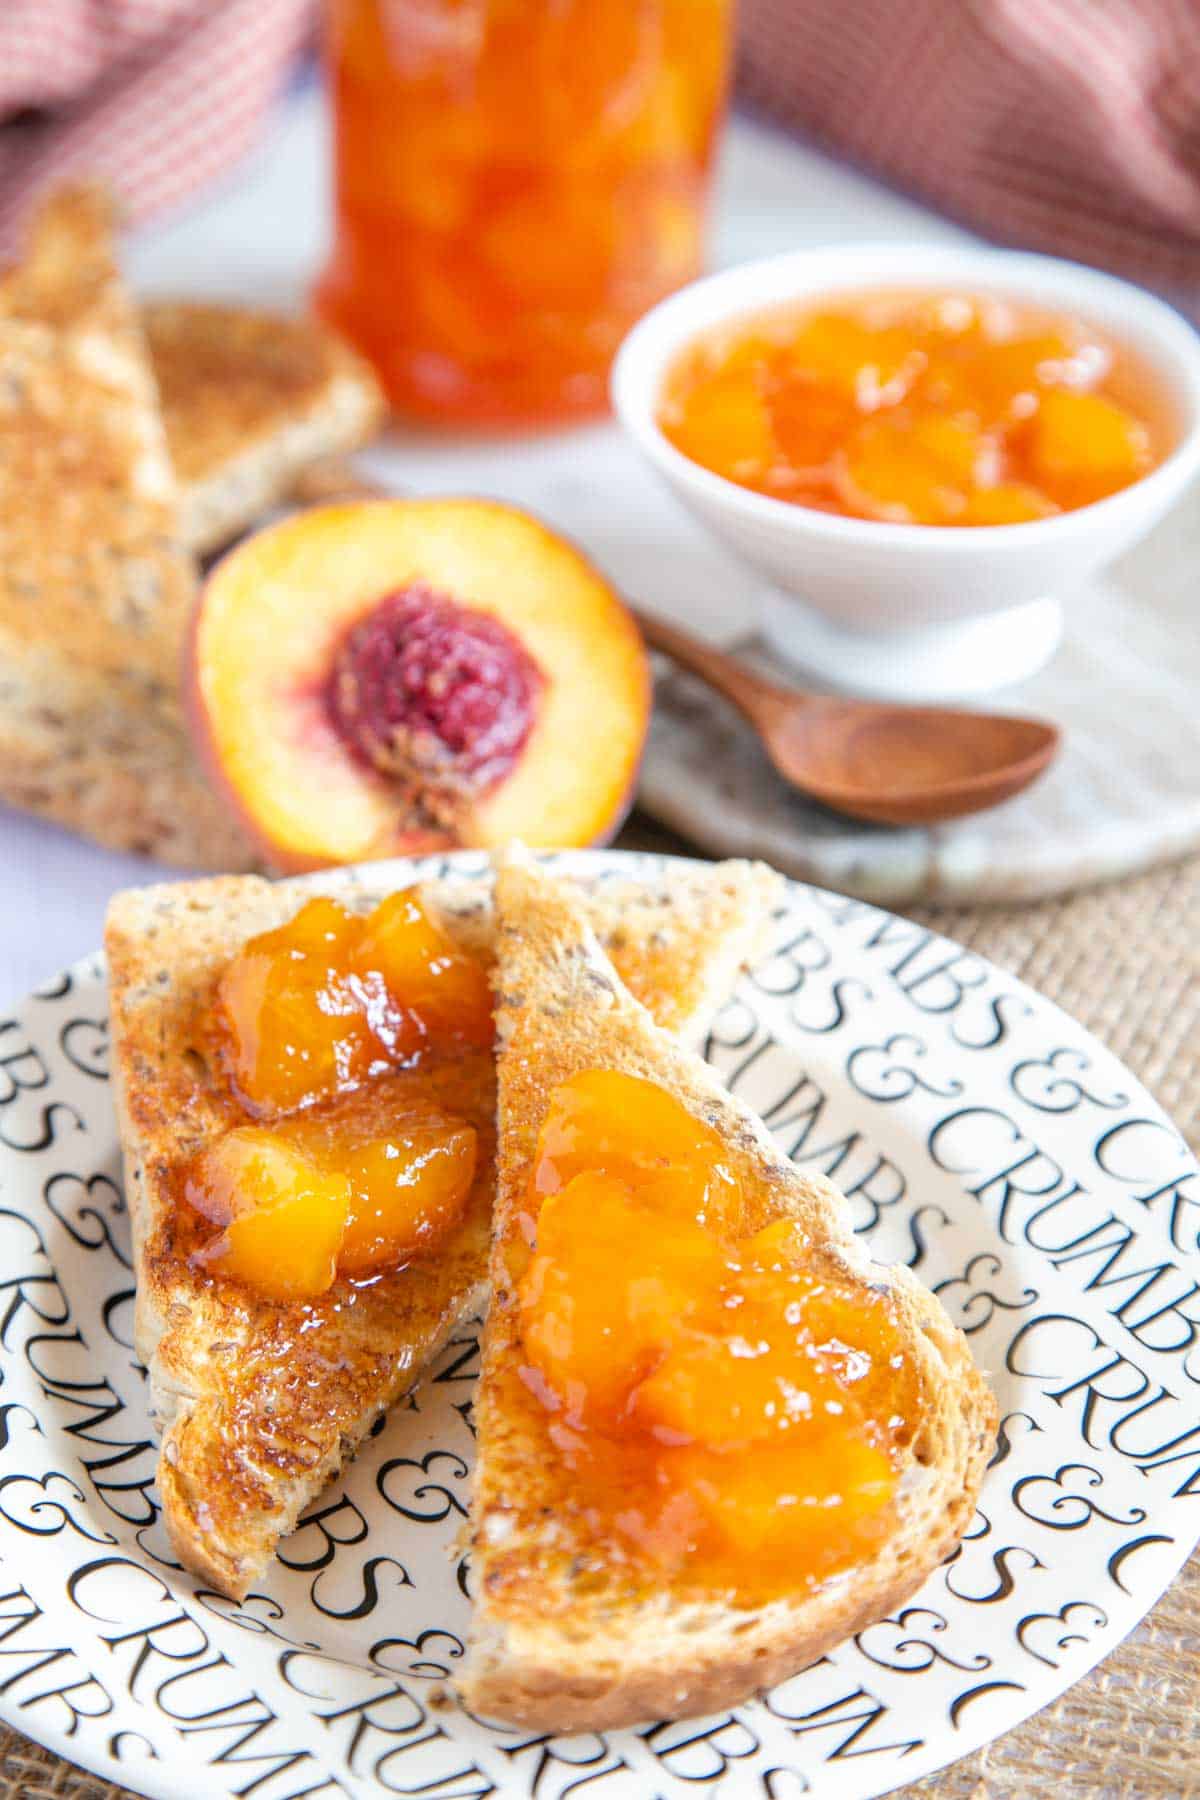
Peach jam
I love peaches – who doesn’t – but for most of us, the season is short and they represent a fleeting but joyful summer.
See also
How to make jam – all the technical knowledge you need to make jam and jelly successfully every time.
How to sterilize jars for preserving – everything you need to know for storing jam safely.
Easy rhubarb jam – a pretty pink jam to make in spring
Small batch nectarine jam conserve method – You don’t find this one in the shops but it’s delicious and easy, with no need to peel!
Small batch blackberry jam recipe – a classic jewel-like jam and a great way to preserve autumn fruit into the winter months
Whether they call to mind the blue skies of Italy, an orchard in Georgia or a Chinese landscape, peaches represent that perfect moment in the sun. And peach jam is the perfect way to preserve that.
This recipe makes about 600ml or 2 jars of jam from 4 good sized peaches.
As with most of my stone fruit jams (see my plum jam, and nectarine jam), I like to make peach jam by the conserve method. This means I soak the fruit in sugar for several hours before cooking, to combine the sugar with the fruit juices.
It makes the entire process take a little bit longer, but the hands-on time is just the same, so there is no extra effort.
With the conserve method, your jam will require less cooking time which results in a fresher flavour. You also have larger pieces of fruit, retaining some texture, though you can mash the fruit down if you prefer. You can skip the maceration stage and follow a regular jam process if you prefer. To do this, just leave out Step Four of the recipe.
Why make peach jam?
- It is easy – anyone can make this lovely jam. And there are just three ingredients!
- Peach jam is delicious sunshine in a jar. I love mine for breakfast served on a homemade croissant.
- It is perfect for using up a bargain from the store or market.
- Homemade is so much better than shop bought.
- This peach jam recipe is scalable. I make jam by ingredient ratios – more of this later.
Peach jam ingredients
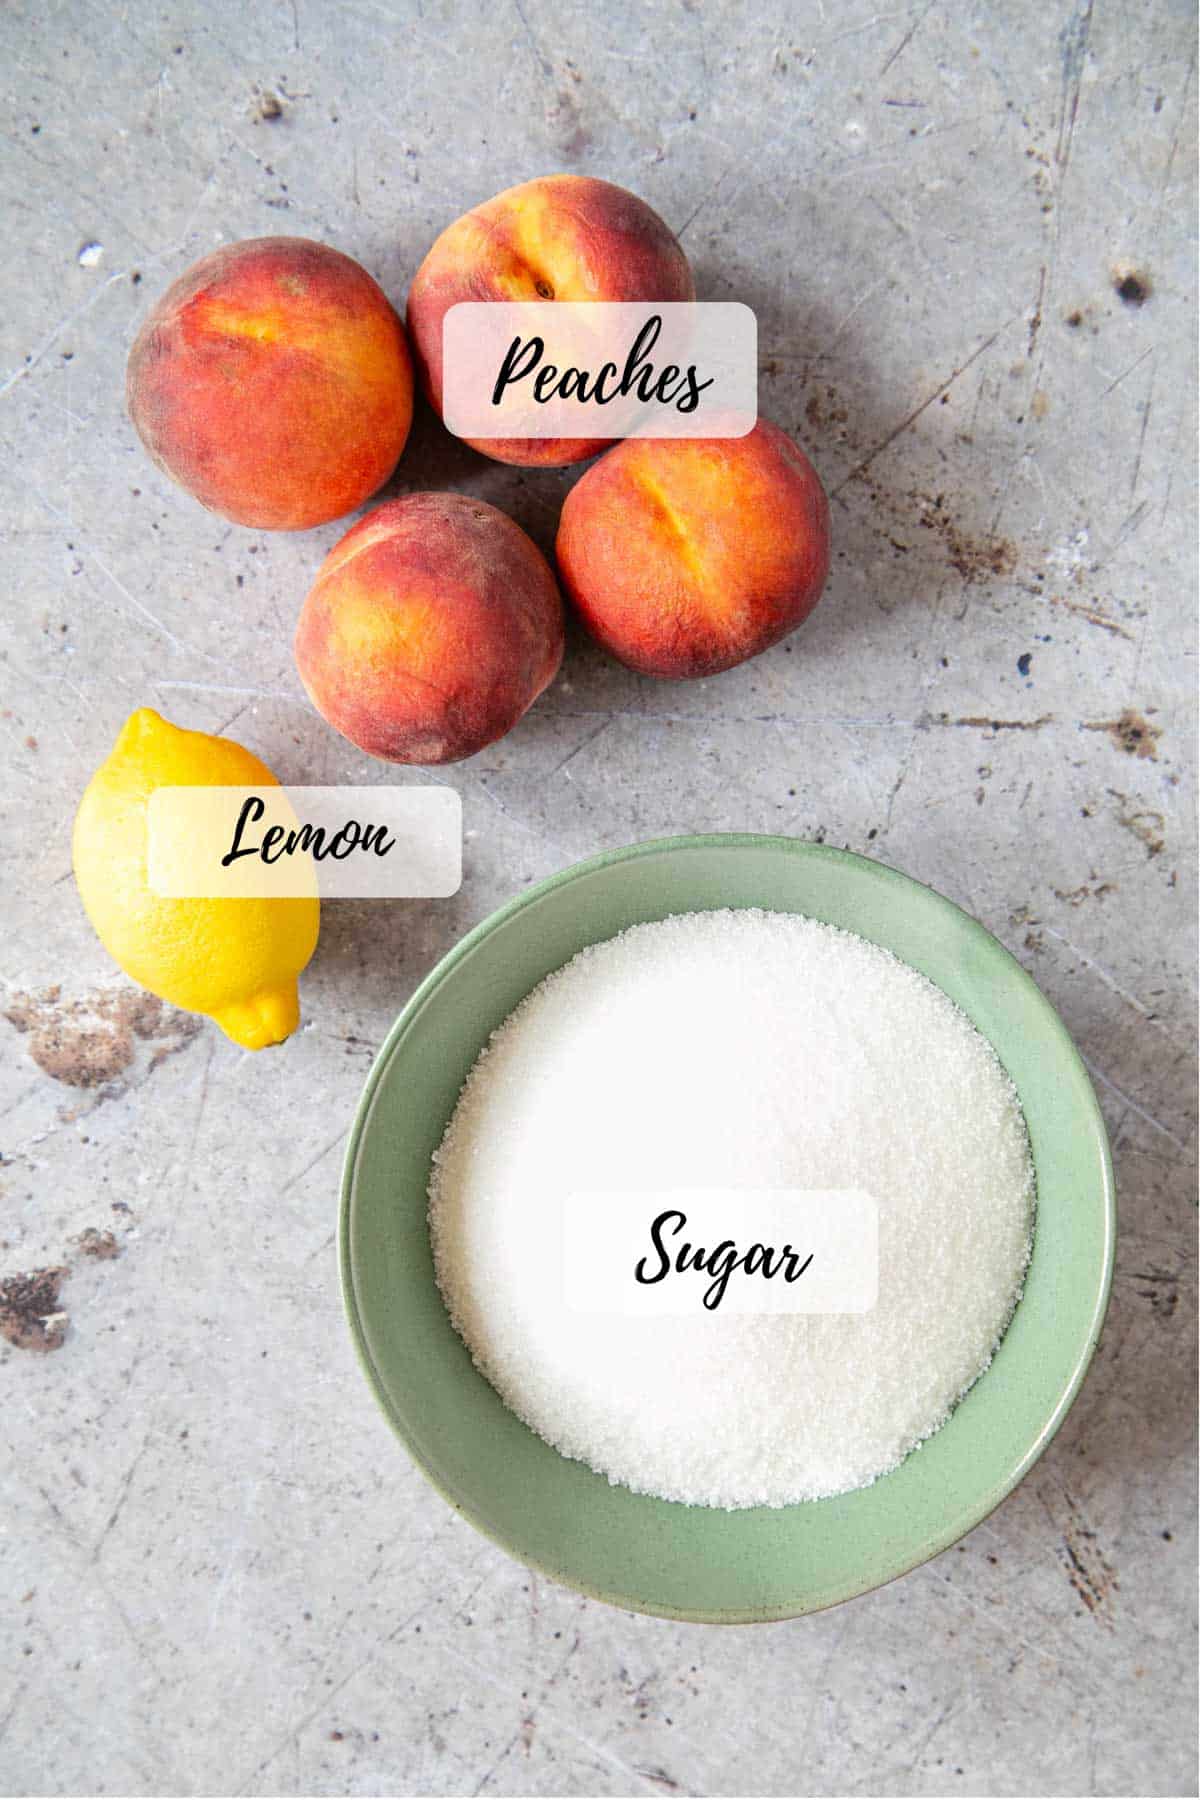
- Peaches – Ripe, or slightly under ripe fresh peaches. You can use any variety, yellow or white. If you use flat or doughnut peaches, you will find that you lose more of the weight of the whole fruit when you come to peel and stone them, so you may need extra fruit.
- Sugar – regular granulated white sugar – no need for jam sugar
- Lemon – Roll it on a cutting board under your hand, exerting a little pressure, before you cut into it. This will help to release more juice.
How to make peach jam – step by step
Before you start, read my step-by-step instructions, with photos, hints and tips so you can make this peach jam recipe perfectly every time.
Scroll down for the recipe card with quantities and more tips at the bottom of the page.
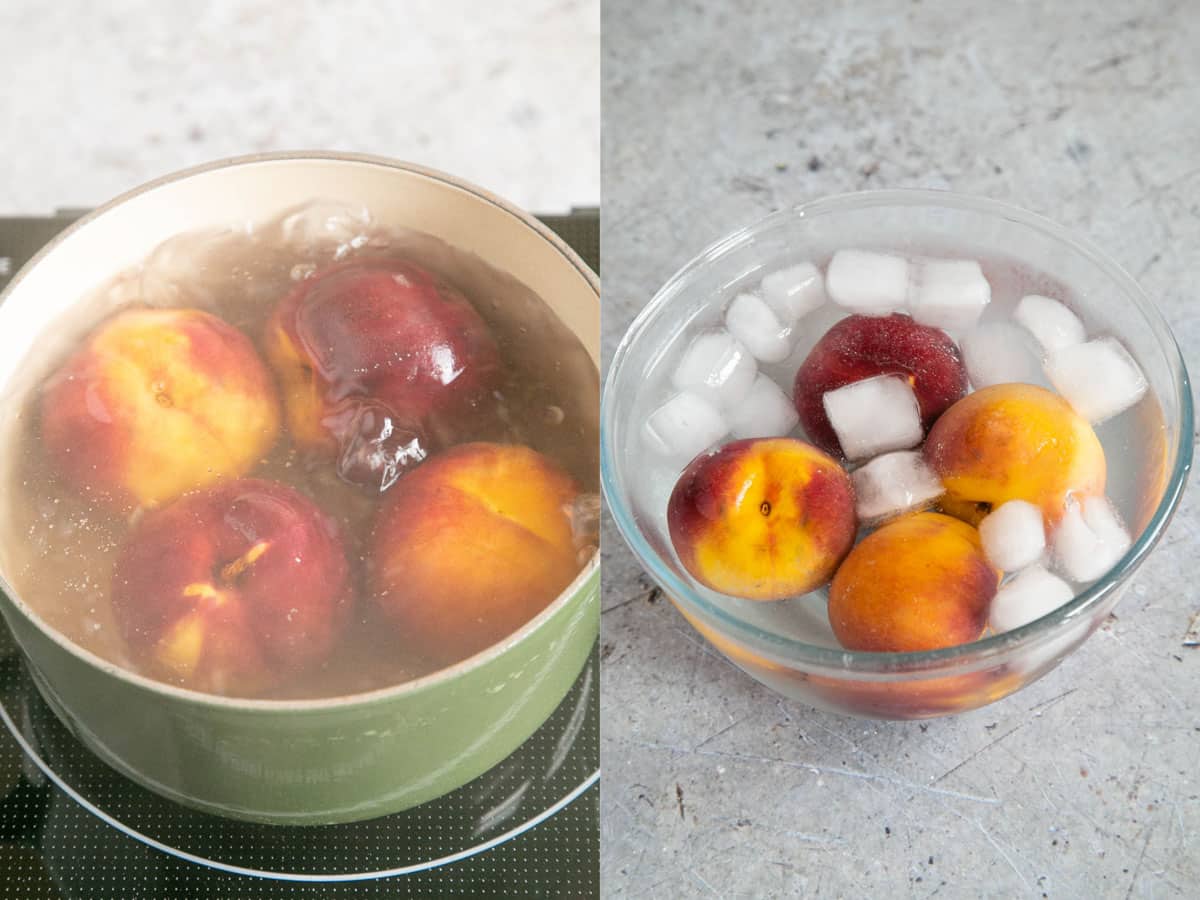
Step one – Blanch the peaches to make peeling easier. The easiest way to do this is to carefully lower them into a pot of just-simmering water for a minute.
Roll them around in the water, so that all parts of the peach spend some time immersed in the water.
Remove and transfer to an ice bath to stop them cooking and to cool them down.
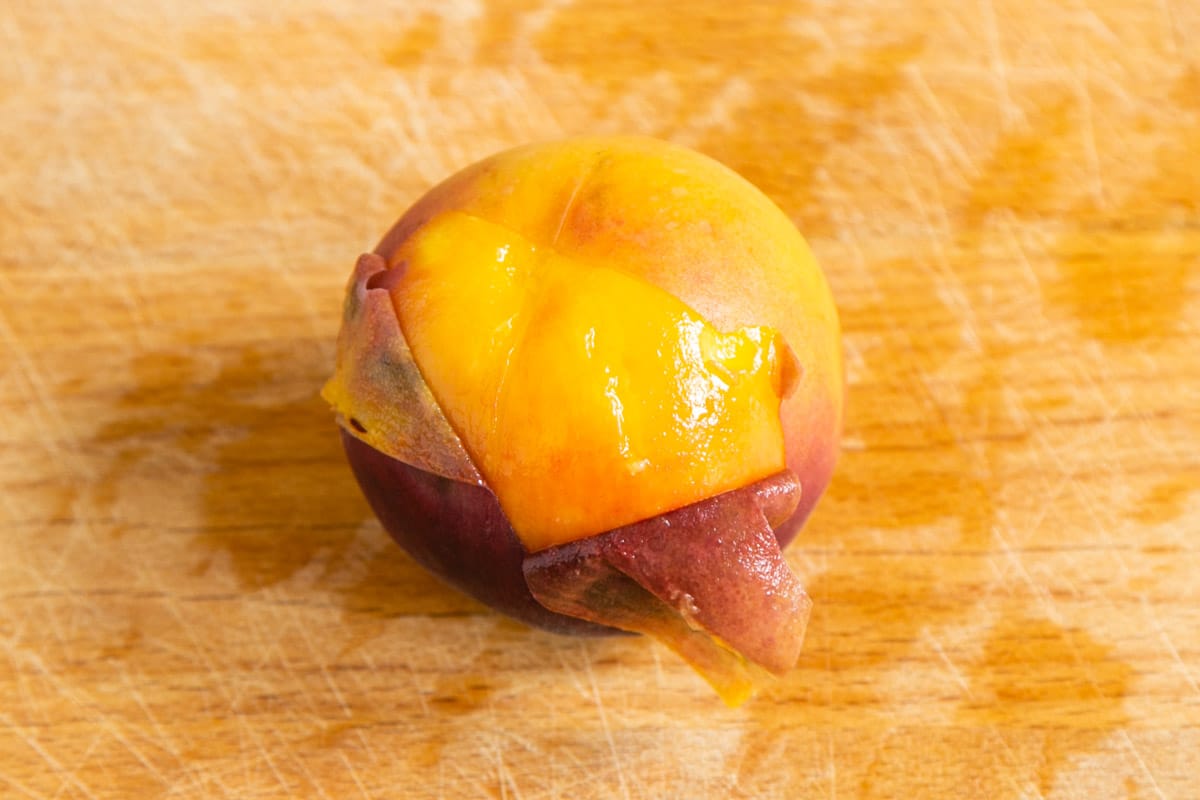
Step Two – Cut a cross into the skin on the bottom of each peach. Then peel the skin back. You should find it releases without too much fuss.
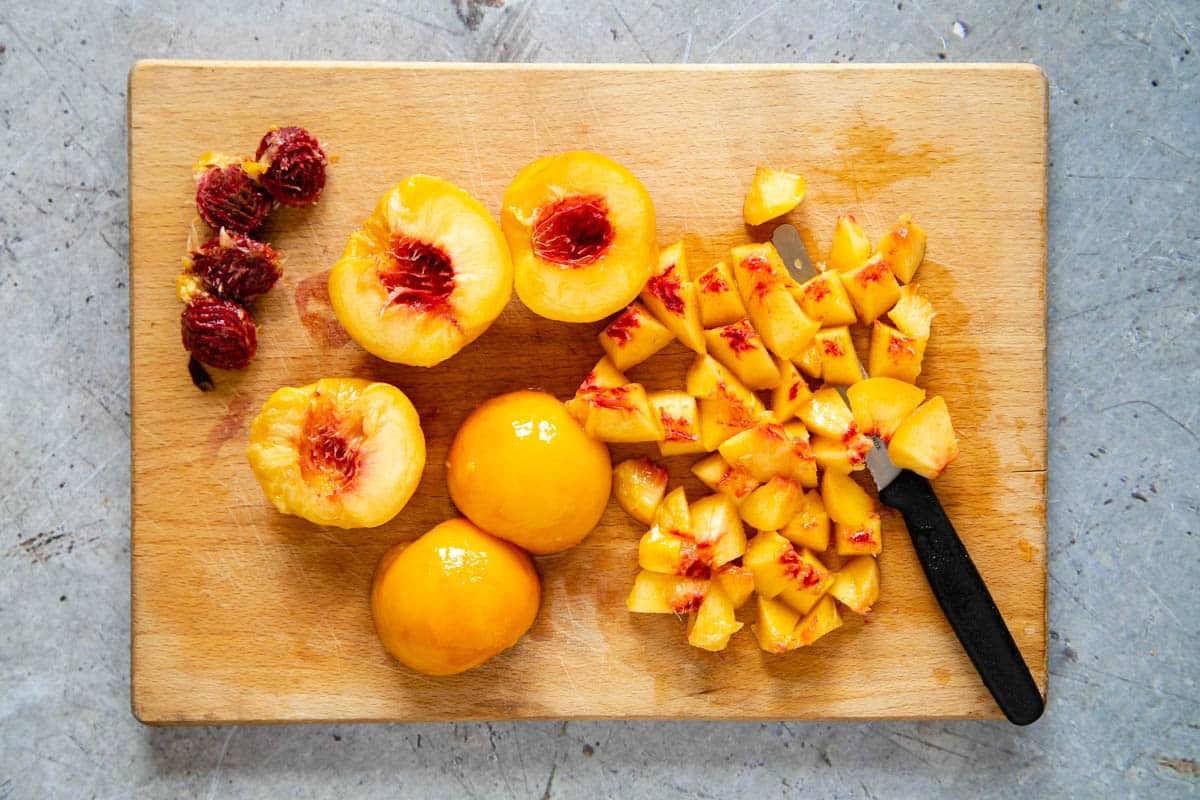
Step Three – Remove the stones and chop the peaches.
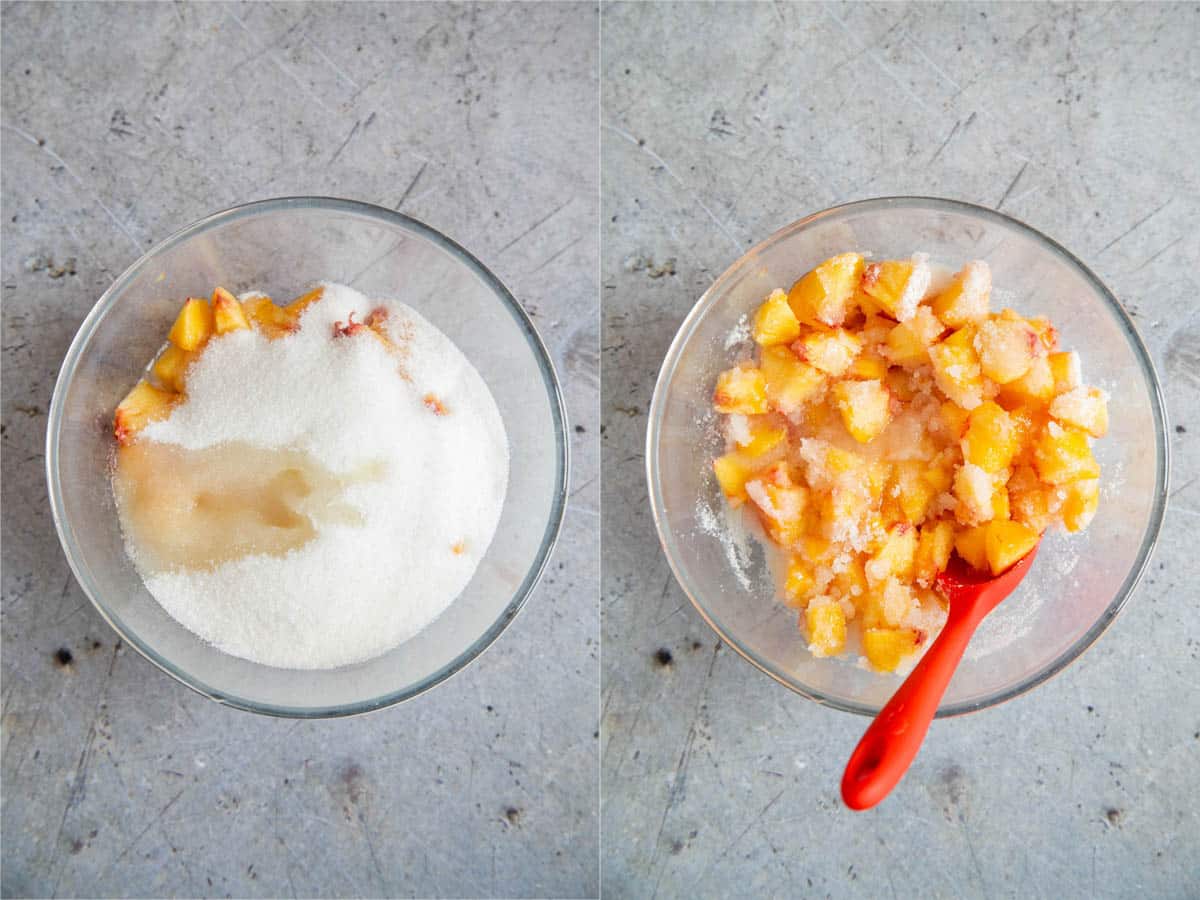
Step Four – Put the peach pieces into a bowl, and add the sugar and lemon juice. Give it quick stir. Then cover and leave overnight, so the sugar draws the juice out.
If you can’t leave your peaches overnight, don’t worry too much. A few hours will be enough. In hot weather, I leave the bowl in the fridge overnight.
Helen’s Pro Tip
If you have a glut of fruit but do not have the time to make jam at the moment, you can freeze the peaches and sugar mixture at this stage. Be sure to use a leak-proof container, as the sugar syrup will not freeze solid and will leak all over your freezer if not tightly sealed. Keep it upright, just to be sure.

Step Five – In the morning there will be lots of juice, and much of the sugar will have dissolved. You are now ready to make your jam, so make sure you have clean, sterilized jars ready.
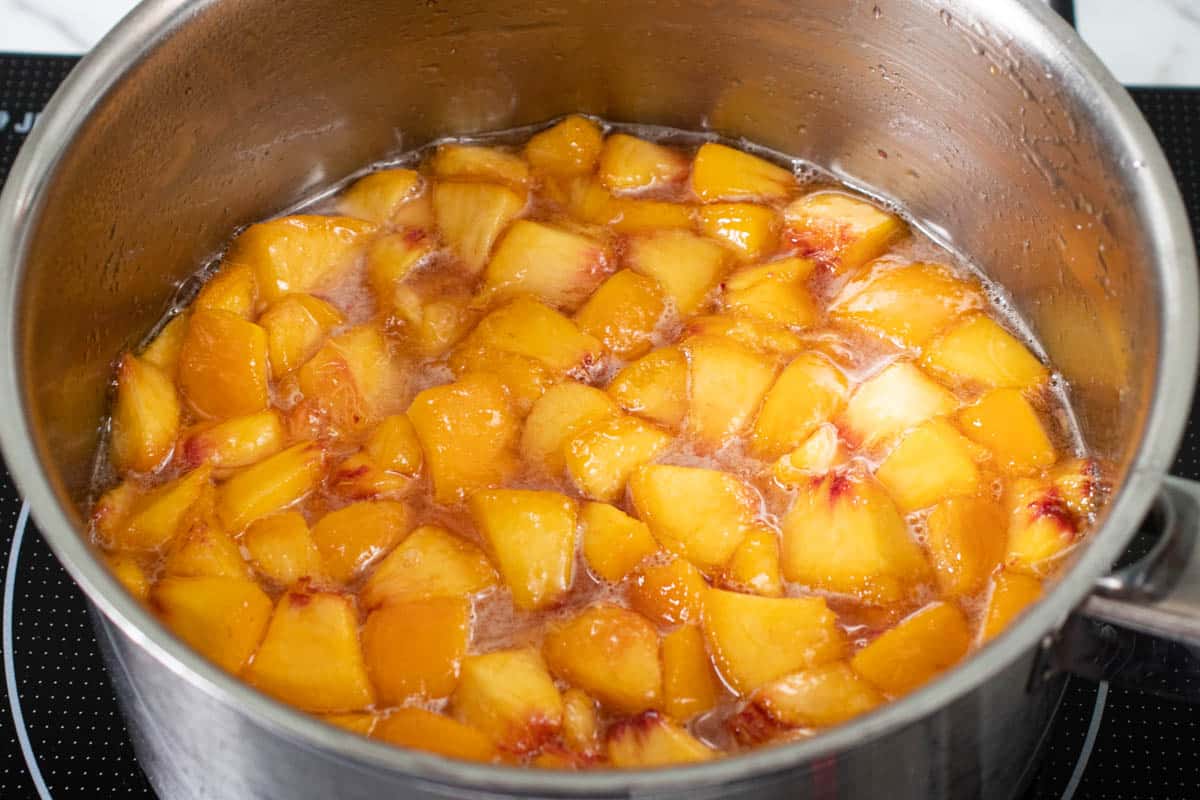
Step Six – Place the mixture in a large saucepan. You need plenty of space, as the bubbling hot jam will rise up quite high. The saucepan should be less than half full at the outset.
Heat gently and allow the jam mixture to simmer, but not boil until all the sugar has dissolved. Stir gently to dissolve the sugar. It may look like a lot of liquid at first, but it will reduce.
While you are making the jam on the stove, heat your jam jars and lids in the oven, so that they will not crack when you fill them.
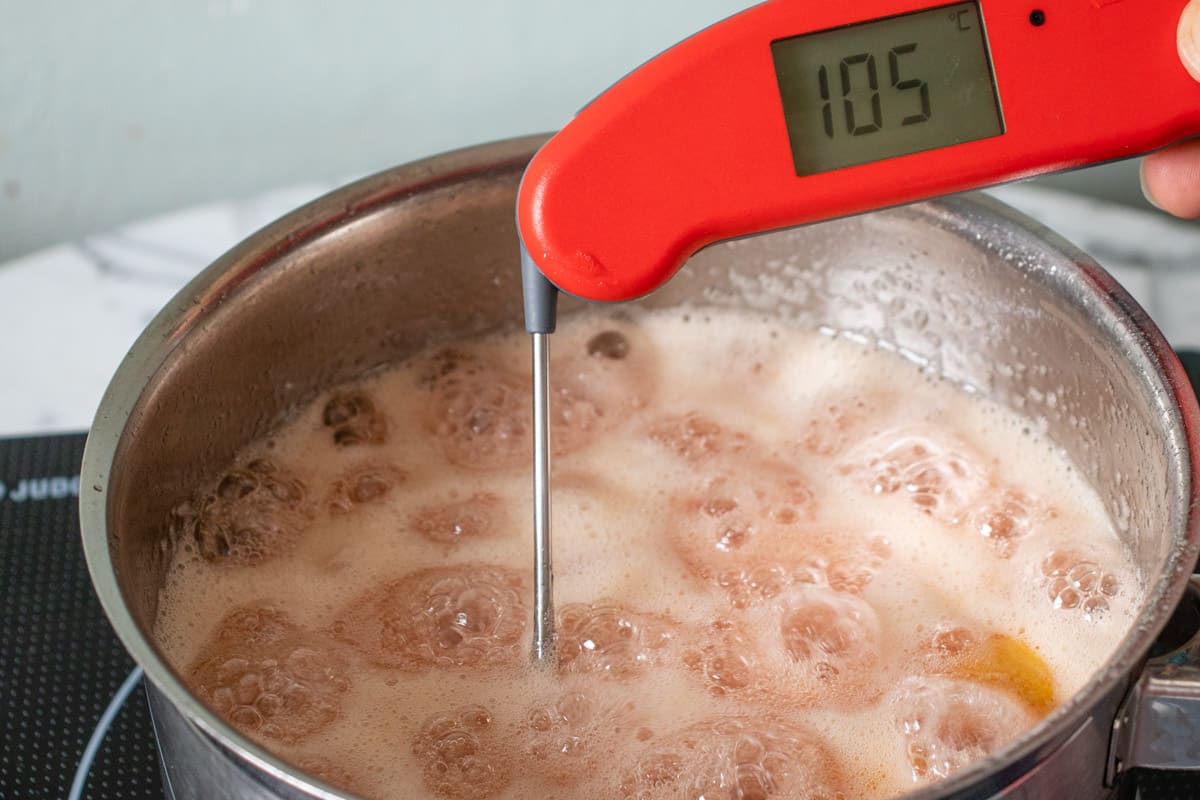
Step Seven – Cook the jam at a rolling boil until it reaches setting point. Stir frequently, running a spoon or spatula over the bottom of the pan so that none of the fruit sticks and burns.
This will take about 10 minutes, depending on the size and shape of your pan.
If you would like a smoother jam, use a potato masher to break the fruit up as it cooks.
How to test for setting point
This is the only tricky bit of making jam: checking it’s hot enough to set, so that when cool, it will be jam rather than liquid.
The temperature test. Digital jam thermometers are widely available, and not expensive. They are much easier to read than traditional jam thermometers. Heat the jam to the setting point (usually 105°C/221°F) and once your jam is there, you know it should be ready.
Caution: Use temperature only as a guide. Once the thermometer reads 105°C, I give the jam a good stir to get rid of any hot spots and then test with the wrinkle test.The wrinkle test. Put a couple of side plates in the freezer before you start work. Once the jam is boiling, start testing by placing some on one of the plates. Allow it to cool on the plate. Then push your fingernail through the jam. If you see it wrinkle up ahead of your finger, it is ready. This technique takes a bit of practice.
The flake test. Take a spoonful from the pan and turn it vertically to tip out the jam. If the jam runs off, it hasn’t set. If, however, some sticks to the spoon in a sort of wide drip that doesn’t fall, the jam is ready. Again, this works best with some practice.
For more in-depth coverage, read my full guide to jam setting point.
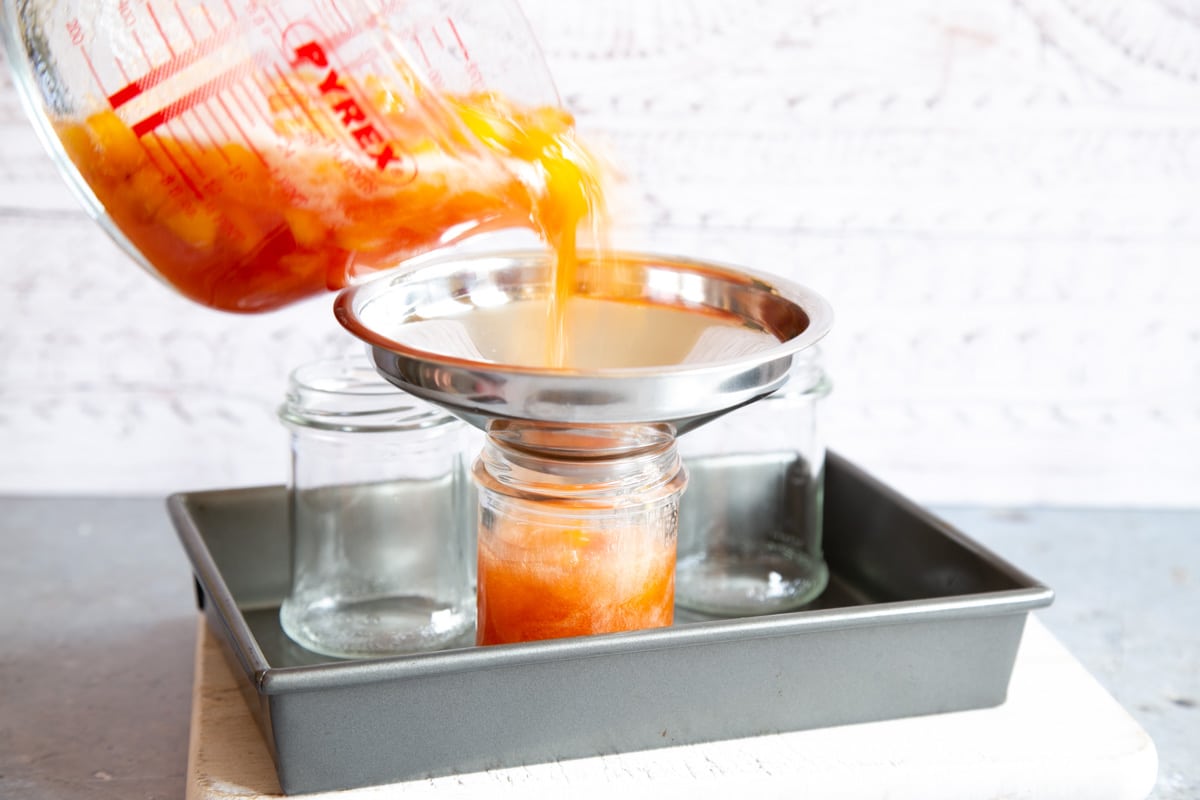
Step Seven – Pour your jam into heated, sterilized jars. I find it easiest to do this by transferring the jam to a sterilized shatterproof jug and then pouring through a jam funnel.
Helen’s Pro Tip
Let the jam sit in the jug for a few minutes to cool and thicken. Then give it a stir and check the fruit is evenly distributed before you pot the jam. If you jar it when it is too hot, the pieces of fruit can rise to the top.
With chunkier jams you can get some tiny air bubbles in the pots. To avoid this, pour slowly. Give the tray of jars a gentle swirl or rap on the worktop. You can also stir slowly with the end of a sterilized spoon to dislodge them.
Wipe away any drips and seal the jars with the lids, making sure they are secure. Leave them to cool and then check that they have sealed correctly. The dimple in the lids will have popped down. If not, you should be able to pop it down with a gentle pressure.
If you have a jar that won’t seal properly, keep it in the fridge once cool and treat it as if already open, eating it within a few weeks.
Serving suggestion
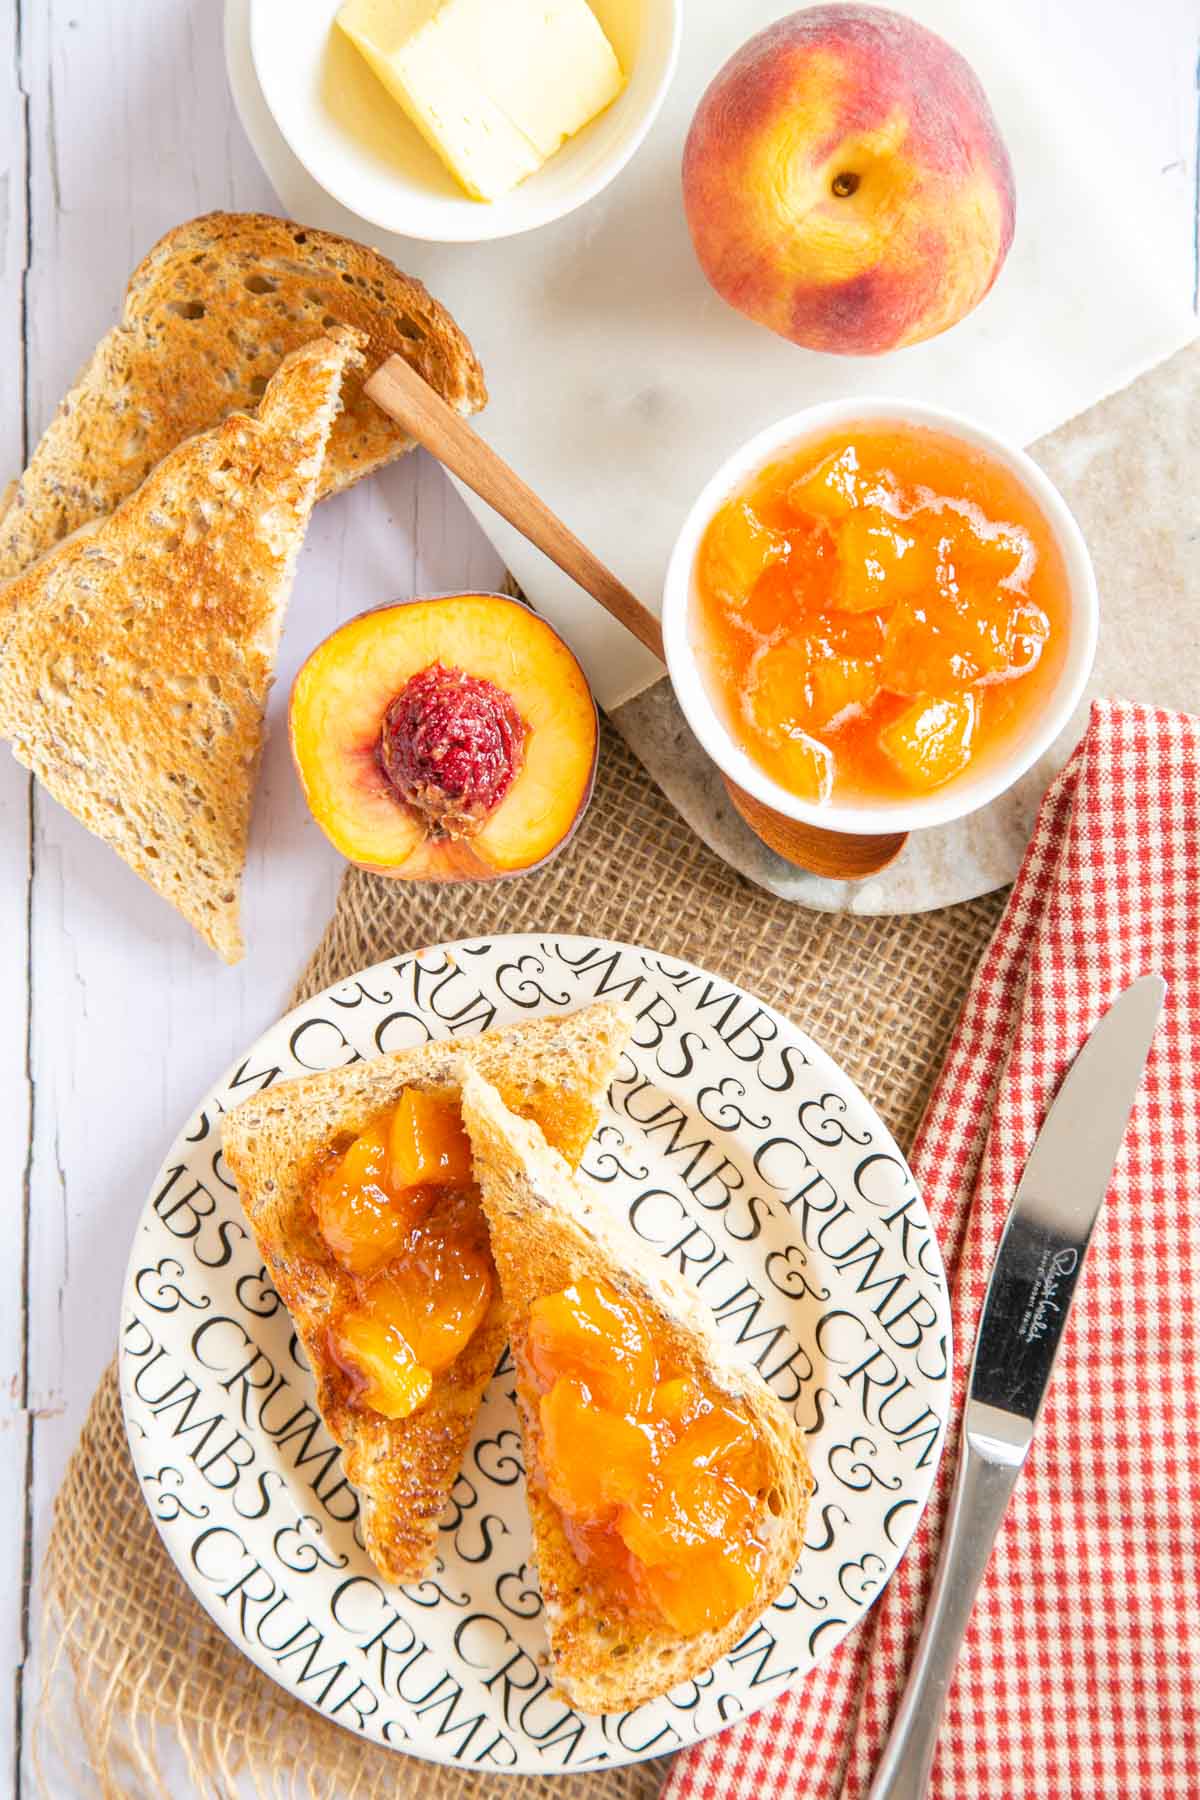
Use your peach conserve just as you would any other jam. It is delicious on toast, muffins or crumpets for breakfast, or you could use it to fill pancakes.
Variations
- Vanilla peach jam – Add a little vanilla paste to the peach and sugar mixture.
- Mixed stone fruit jam – Any mixture of stone fruit such as peaches, apricots and plums, works well and is delicious.
- Peach melba jam – Add a punnet of raspberries. Adjust the amount of sugar and lemon juice to the total weight of the prepared fruit.

Storage
Check the jars have sealed. If any fail, keep them in the fridge and use those first.
Properly sealed jars should be kept in a cool dark cupboard.
Someone once asked me whether you could freeze jam. Jam is a method of preserving fruit that long predates the invention of the freezer and it lasts just as long as anything in the freezer. Freezer jams are different, but this is a traditional preserve.
Hints and tips
- Choose a deep pan. Not only will the jam rise up high to fill most of the pan when it is hot, but it can spit and splash. Boiling jam liquid is hotter than boiling water. You don’t want to scald yourself. Also, use a long spatula or wooden spoon when stirring the jam.
- Don’t forget to heat the jars while you cook the jam, even if they have already been sterilized. If you pour hot liquid into cold glass, the glass can break.
- No one wants a lot of equipment in the kitchen that is unlikely to be used. If you are going to make preserves regularly, however, I thoroughly recommend a jam funnel.
Peach jam recipe – ingredient ratios & yield
It is easy to scale jam recipes up or down, so you might just want to work to the quantity of fruit you have. That said, if you have a lot of fruit, you may want to make it in smaller batches. I find it much more manageable to make two small batches than one vast one.
These are the ingredient ratios for this peach jam recipe, so you can adjust it to your fruit:
- 4 large peaches weigh around 600 g, (if you buy a bargain punnet from the market they could well be much smaller). I find you lose about 12% of that weight in the stone and peel, but if you use flat peaches it will be significantly higher.
- The weight of the sugar needs to be about 80 % (4/5) that of the fruit (so a 4:5 sugar: prepared fruit ratio).
- Add 2 tablespoons or 30 ml of lemon juice for every 4 large peaches, or 500 g of prepared fruit.
- 4 peaches make about 600 ml or just over 2 and a half cups of jam.
- Yield and set of the finished jam can vary according to the ripeness of the fruit, pectin levels and how long you need to cook to get to setting point.
FAQs
I far prefer my jam without peach skin, and it’s a simple process if you blanch them.
Provided you have discarded any overripe or bruised pieces of fruit, and have cooked and sealed the jars properly, your jam will keep for several years, though I think it is best enjoyed within 18 months. Once opened, store in the fridge and eat within a few weeks.
Don’t even think about leaving the lemon juice out, or you’ll be asking ‘why is my peach jam so runny?’ Peach jam needs the acid and pectin from the lemon. It is not there for flavour, but to make the jam set. Your jam will not taste of lemon.
Yes, but there is enough pectin in the fruit and the lemon juice. You don’t need jam sugar with added pectin for this peach jam recipe, nor do you need to add liquid or powdered pectin. If you cook it according to the instructions, it should set just fine.
More jam recipes
- Black cherry jam – easy to make and delicious with yogurt or in chocolate cake
- Blackberry and apple jam – the classic forager’s jam
- Apricot jam – so useful in the kitchen!
- A collection of the best jam and jelly recipes – all my favourite sweet preserves
Easy Peach Jam Recipe
Ingredients
- 600 g (21 oz) peaches (about 4 ripe peaches, unpeeled weight – see notes)
- 400 g (1.9 cups) granulated white sugar (see note on ratios and yield)
- 2 tbsp (2 tbsp) lemon juice
Instructions
- Blanch the peaches by placing them whole in a large pan of boiling water for about a minute. Remove with a slotted spoon, and immediately transfer to a bowl of iced water. Leave to stand for a few minutes.
- Skin the peaches, then halve each one, remove the stone, and cut the flesh into small pieces.600 g peaches
- Put the peach in a bowl. Cover with the sugar, add the lemon juice, and stir. Then cover the bowl and leave overnight.400 g granulated white sugar, 2 tbsp lemon juice
- When you are ready to cook, place jam jars and lids in the oven at 135°C/Gas mark 1 to sterilize and warm.
- Transfer the ingredients to a deep saucepan or jam pan and set on the stove. Heat gently to dissolve the remaining sugar.
- Once the sugar has all dissolved, bring the jam to a rolling, but not rapid boil. Start testing for setting point. Once the setting point has been reached, take the jam off the heat.
- Allow to stand for a few minutes to allow the bubbles to settle. Pour slowly into the hot jars, seal and allow to cool.
Notes
Hints and tips
- Choose a deep pan. Not only will the jam rise up high to fill most of the pan when it is hot, but it can spit and splash. Boiling jam liquid is hotter than boiling water. You don’t want to scald yourself.
- Don’t forget to heat the jars while you cook the jam, even if they have already been sterilized. If you pour hot liquid into cold glass, the glass can break.
- No one wants a lot of equipment in the kitchen that is not in regular use. If you are going to make preserves regularly, however, I do find a jam funnel makes life much easier.
Ingredient ratios & yield
It is easy to scale jam recipes up or down and you may want to just work to the quantity of fruit you have. That said, if you have a lot of fruit, you may want to make it in smaller batches. These are the ingredient ratios for this peach jam recipe, so you can adjust it to your fruit.- 4 large peaches weigh 550 to 600g, and you lose about 12–15% of that weight in the stone, peel and any bruised fruit.
- The weight of the sugar needs to be about 80 % (4/5) that of the prepared fruit (so a 4:5 sugar: fruit ratio).
- Add 2 tablespoons or 30 ml of lemon juice per 4 large peaches or 500 g of prepared fruit.






Leave a Reply