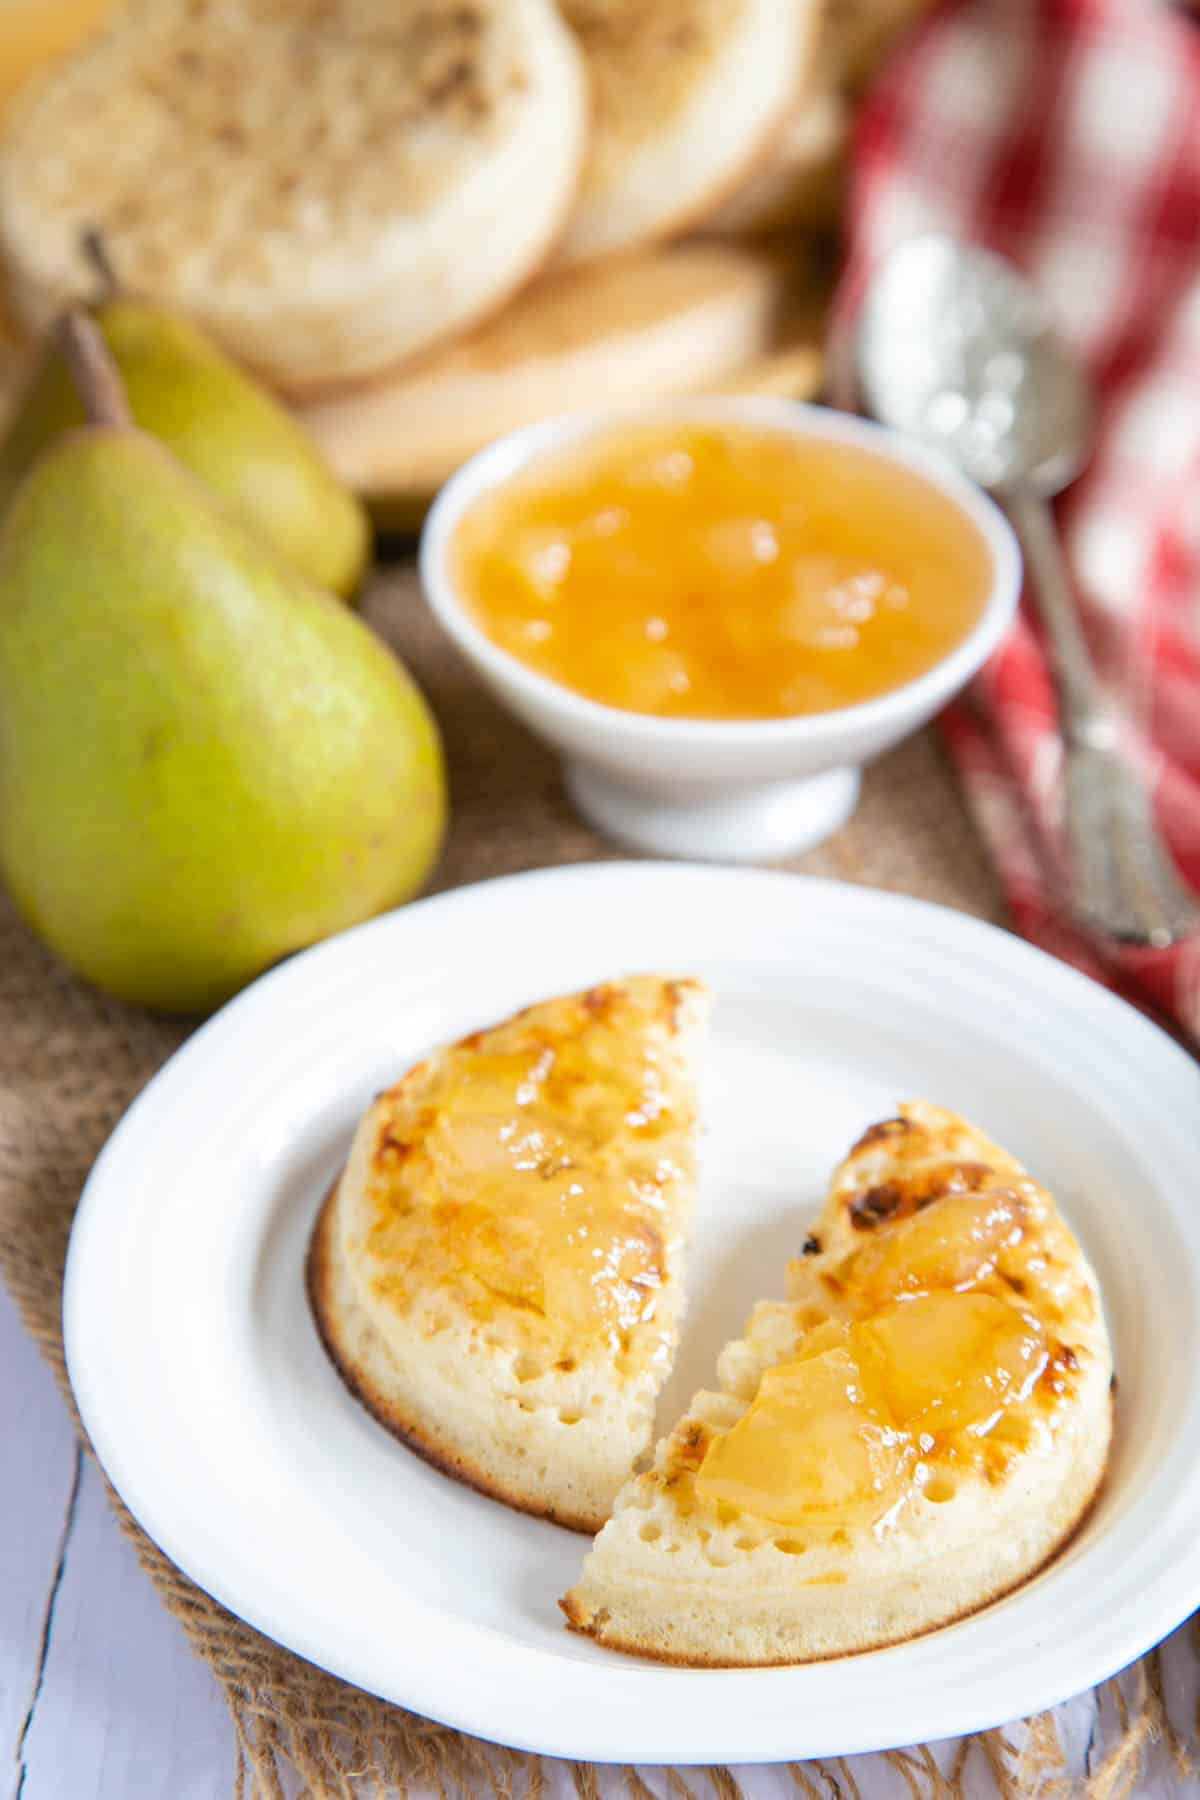
Delicious pear jam is perfect for preserving a glut of pears from the garden and this easy pear jam recipe is sure to impress. Let the delicate pear flavour be the star, or add some warming spices to taste.
Easy pear jam
Can you make jam with pears? Absolutely! Should you? Definitely. This delicious, sweet, soft-set pear jam is so easy to make, and the recipe needs just three ingredients. Delicate and fragrant, it is an absolute delight, and one that you rarely see on shop shelves.
See also
- Simple to make this easy plum jam recipe is one of our favourite recipes.
- Frozen mixed berry jam is a reader’s favourite.
- It takes only three ingredients to make this small batch blackberry jam
- How to make jam is a simple step-by-step tutorial for all things jam!
I use the same conserve method for this pear jam recipe that I use for stone fruit jams. You simply cover the fruit with sugar and leave it overnight to draw the juice out. This means the jam needs less cooking and the fruit retains some shape and texture.
This is a wonderful way to use pears from the market or the garden. Try it once and you’ll make it again and again.
Why make pear jam
- It makes a pretty pale golden jam which tastes amazing
- This is an easy recipe that is scalable to make the most of your pears
- It makes unusual jam which is not readily available to buy from the store
- Homemade pear jam makes a fantastic gift
Pear jam ingredients

- Pears – ripe, or just under ripe. Pears never fully ripen on the tree and you don’t want your pears hard, so you don’t want them freshly picked. You don’t want overripe, mushy pears either. Very soft pears may lack pectin. Variety does not matter too much – just use something you like. A mix of varieties is always good.
- Sugar – ordinary granulated white sugar, or preserving sugar if you prefer
- Lemon – juice of one lemon. To extract the as much juice as possible, give it a good roll on the worktop with a medium pressure before cutting and juicing.
- Spices – entirely optional, but you can add some vanilla (real extract rather than essence) or whole spices. Go cautiously, so that you don’t smother the delicate flavour of the pears.
How to make pear jam – step by step
Before you start, read my step-by-step instructions, with photos, hints and tips so you can make this perfectly every time.
Scroll down for the recipe card with quantities and more tips at the bottom of the page.
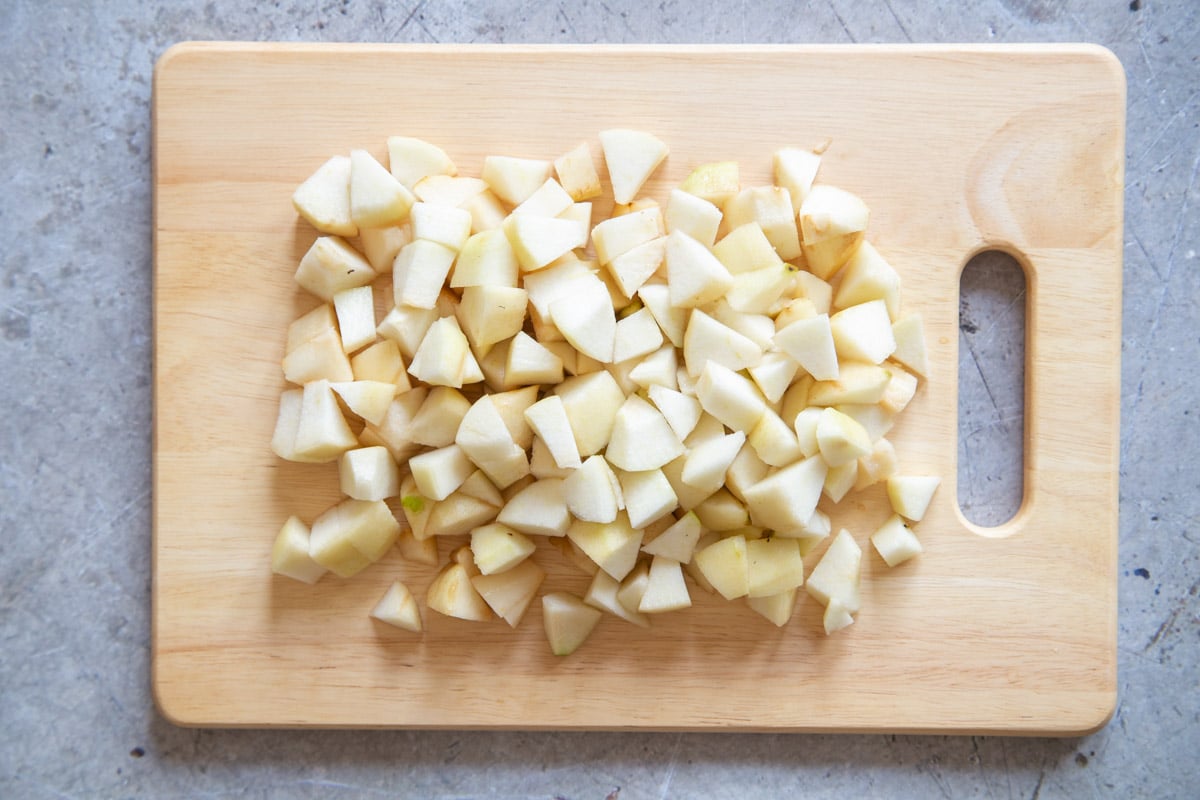
Step One – Peel and core your pears, and discard any damaged fruit. Then cut into 1.5 cm / ½” pieces.
Don’t worry about your pears browning, as they get covered with sugar and lemon at the next stage. However if you are making a double, or more quantity of this recipe, work in batches, preparing the pears and covering with sugar, before moving onto more pears.

Step Two – Put the fruit in a bowl, add the sugar and lemon juice and stir well. If using whole spices, add them here.
Cover the bowl and leave overnight, or for at least for 4 hours. In warm weather, keep the bowl in the fridge.

Step Three – After a few hours, you will find that the sugar has drawn out lots of juice and made a syrup. There will still be some undissolved sugar at the bottom of the bowl.
You may think that there is not enough fruit for the liquid at this point, but don’t worry, it’s fine. The fruit that has been floating at the top of the syrup might have browned slightly – but don’t worry it won’t impact the finished jam.
If you added whole spices, remove and discard them at this stage.
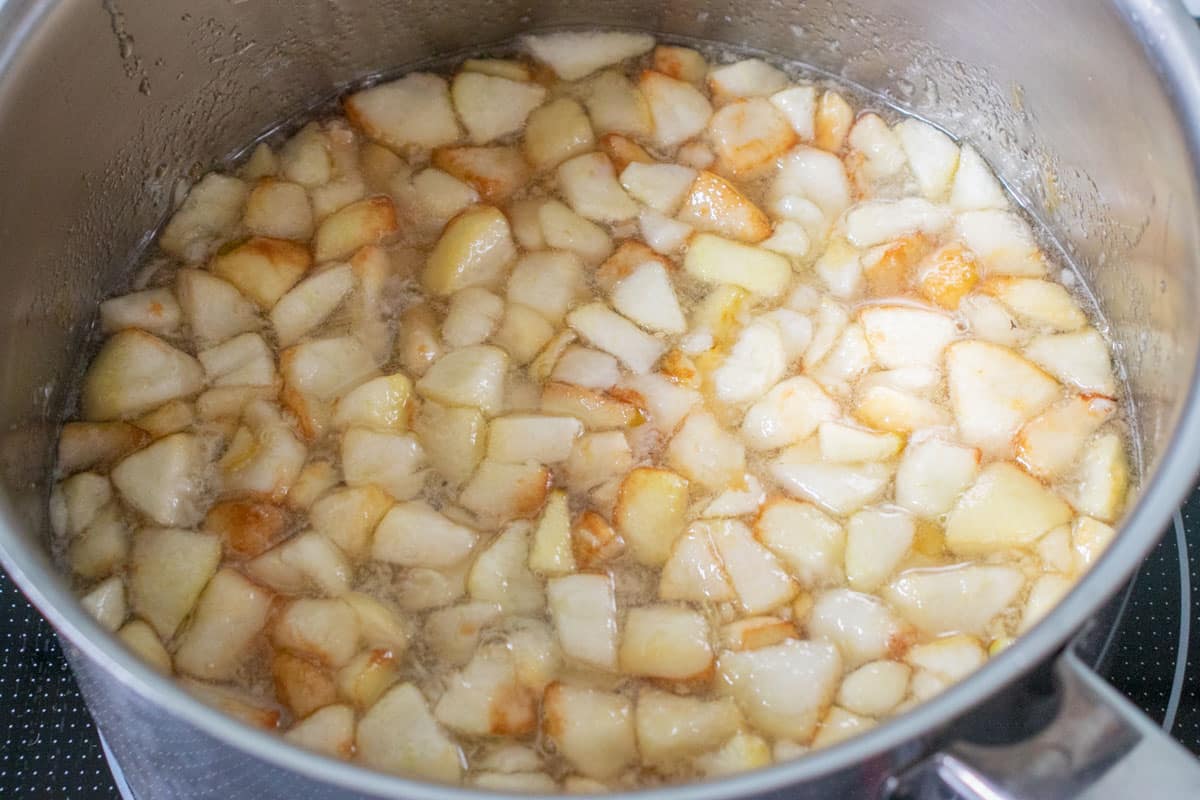
Step Four – Put clean jam jars and lids in a roasting tray in the oven to warm through on a low heat while you make your jam.
Transfer the jam mixture to a large, deep pan and heat gently to dissolve the remaining sugar.
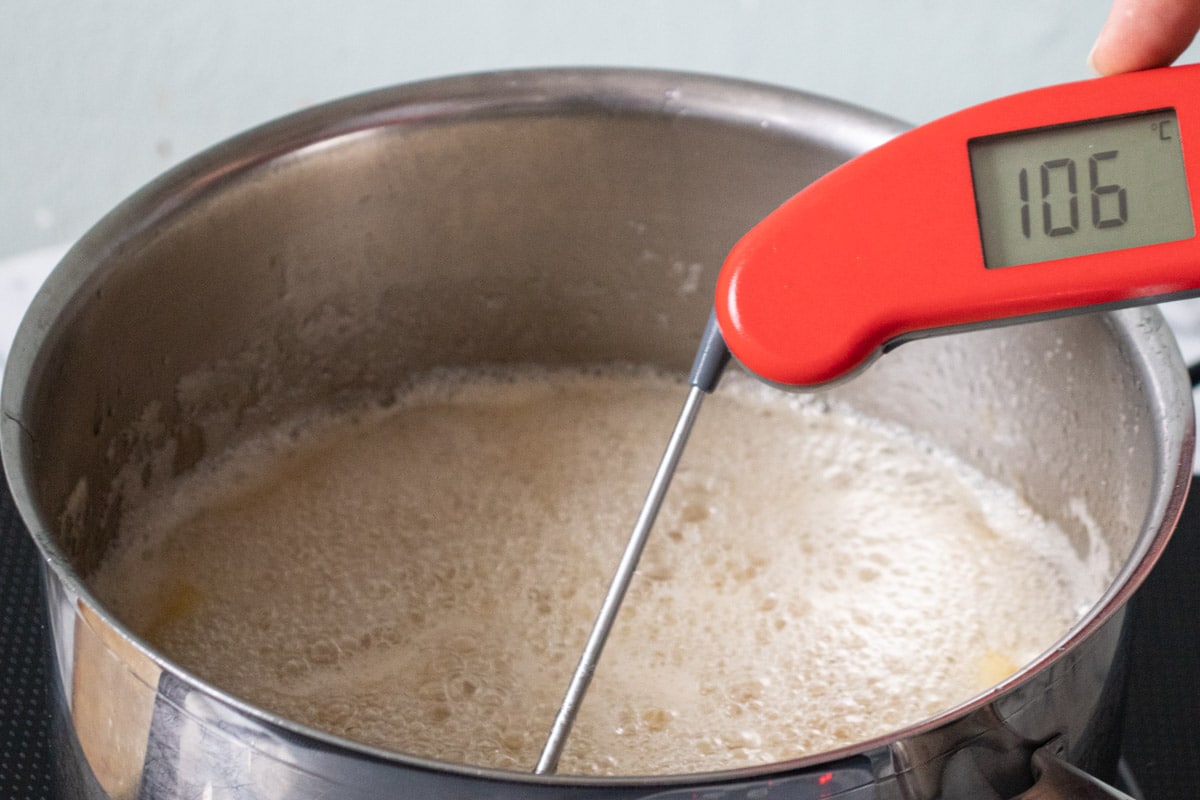
Step Five – Once the sugar has dissolved, turn up the heat. Bring the pear jam mixture up to a rolling boil until you reach setting point.
How to test for setting point
This is the only tricky bit of making jam: checking it’s hot enough to set, so that when cool, it will be jam rather than liquid.
The temperature test. Digital jam thermometers are widely available, and not expensive. They are much easier to read than traditional jam thermometers. Heat the jam to the setting point (usually 105°C/221°F) and once your jam is there, you know it should be ready.
Caution: Use temperature only as a guide. Once the thermometer reads 105°C, I give the jam a good stir to get rid of any hot spots and then test with the wrinkle test. It’s OK for the temperature to go a couple of degrees higher – you can see that the pear jam has reached 106°C in the photo.The wrinkle test. Put a couple of side plates in the freezer before you start work. Once the jam is boiling, start testing by placing some on one of the plates. Allow it to cool on the plate. Then push your fingernail through the jam. If you see it wrinkle up ahead of your finger, it is ready. This technique takes a bit of practice.
The flake test. Take a spoonful from the pan and turn it vertically to tip out the jam. If the jam runs off, it hasn’t set. If, however, some sticks to the spoon in a sort of wide drip that doesn’t fall, the jam is ready. Again, this works best with some practice.
For more in-depth coverage, read my full guide to jam setting point.
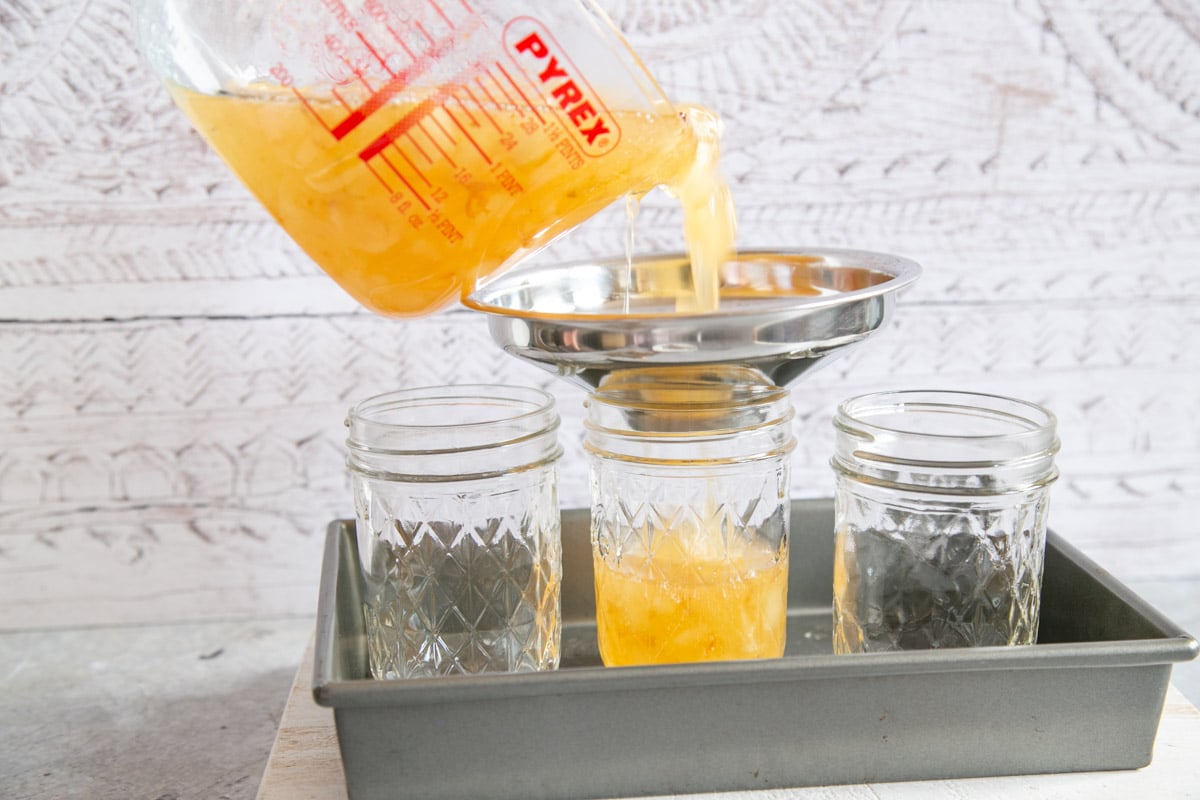
Step Six – Pour your jam into heated, sterilized jars. I find it easiest to do this by transferring the jam to a sterilized shatterproof jug and then pouring through a jam funnel.
Helen’s Pro Tip
Let the jam sit in the jug for a few minutes to cool and thicken. Then give it a stir and check the fruit is evenly distributed before you pot the jam. If you jar it when it is too hot, the pieces of fruit can rise to the top.
With chunkier jams you can get air bubbles in the pots. To avoid this, pour slowly and then give the tray of jars a gentle swirl or rap on the worktop. You can also stir slowly with the end of a sterilized spoon to dislodge them.
Wipe away any drips and seal the jars with the lids, ensuring that they are tightly fitted. Leave the jars to cool and then check that they have sealed. The dimple in the lids will have depressed with a popping noise. If not, you should be able to pop it down with a gentle pressure.
If you find that you have a jar that won’t seal properly, keep it in the fridge once cool and treat it as if already open, eating it within a few weeks.
Serving suggestion
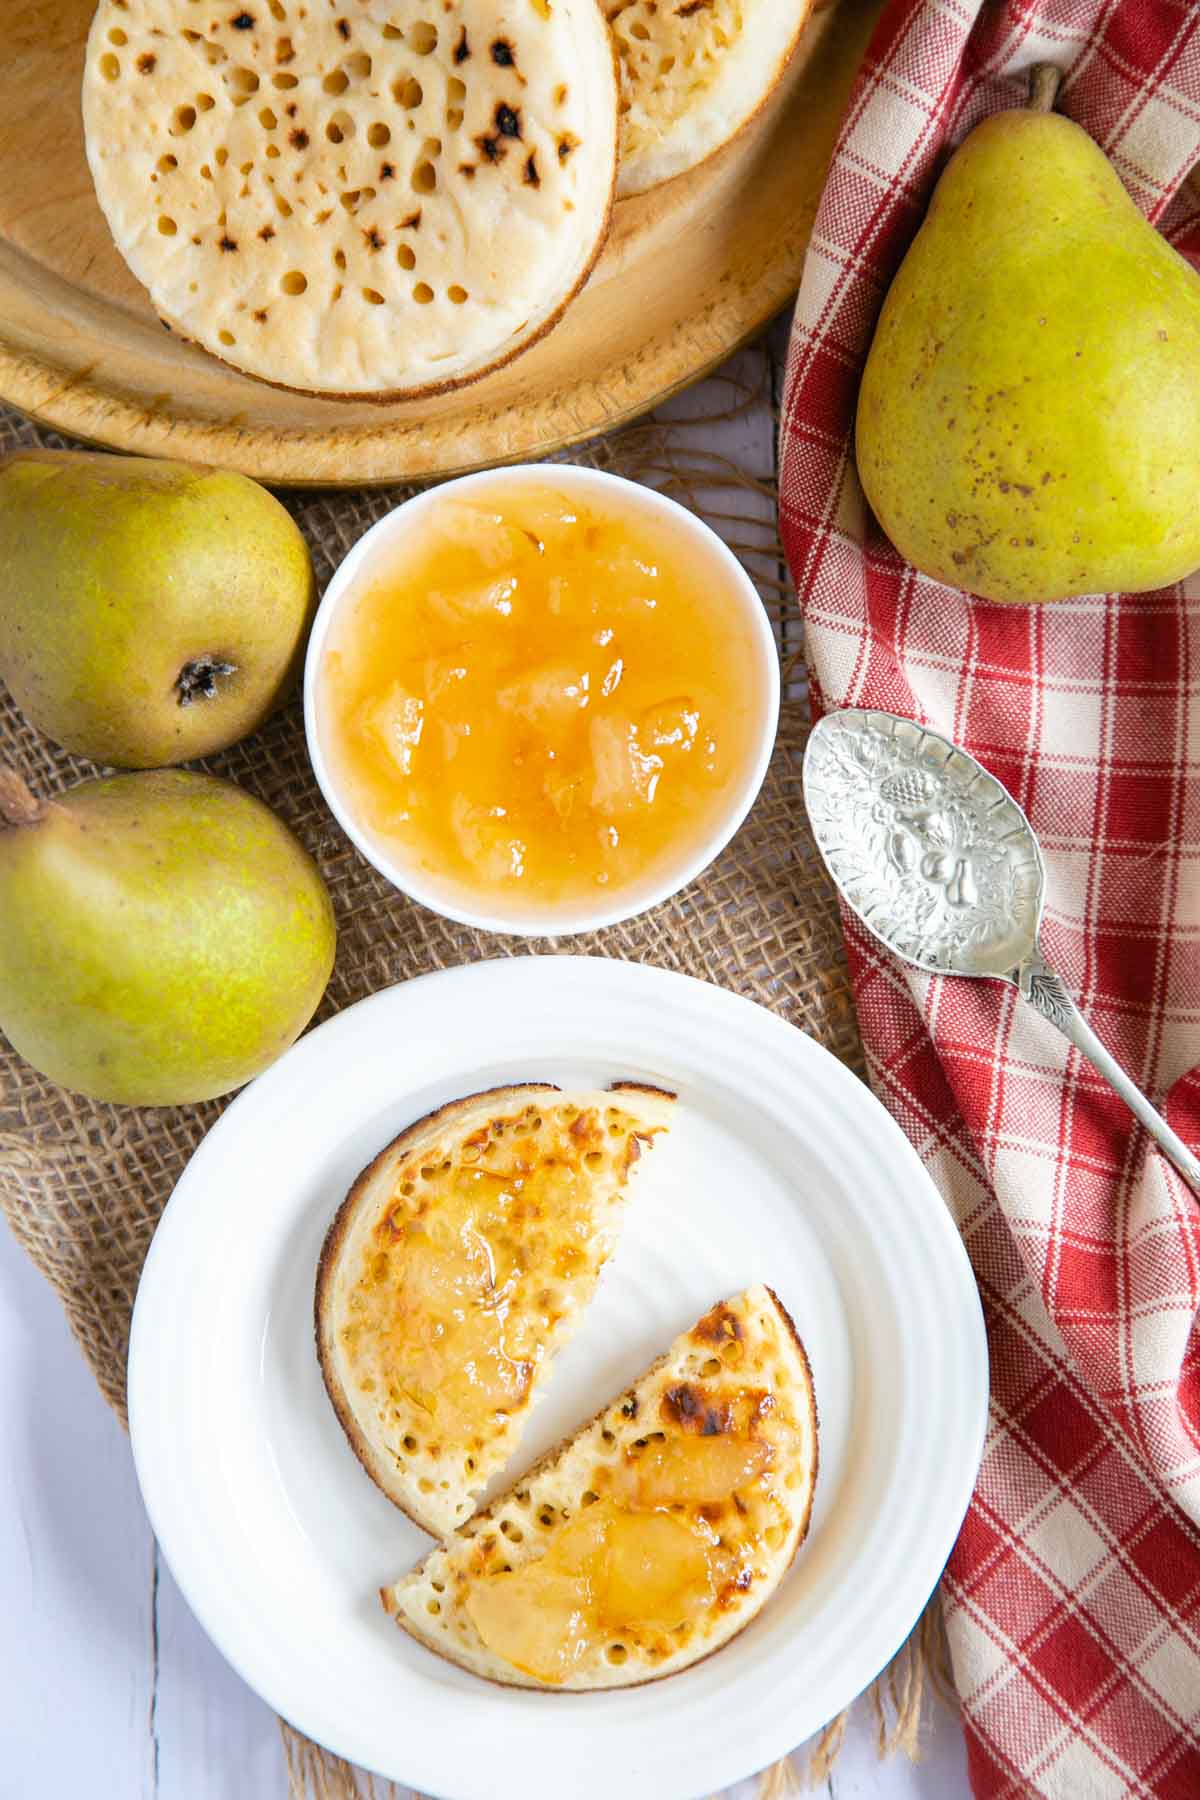
Serve this pear jam as you would any jam recipe. Try it on scones, fresh homemade bread, such as this walnut bread, or traditional English muffins.
Variations
- Spices – You can add a piece of cinnamon stick, a cardamom pod or two, a small piece of star anise or even cloves to the pear and sugar mixture. Don’t overdo it. Remove the whole spices from the mixture before you start to cook.
- Vanilla – This is a classic combination with pears. If you want to add a little, use vanilla extract or bean paste. Avoid anything called vanilla essence, as this may be artificial and unpleasant. Vanilla extract can vary in intensity so go very carefully. For this quantity of pears add half a teaspoon to the initial mix and taste the syrup before you boil to check whether you need more. Remember that boiling the jam reduces the volume and concentrates the flavours.
- Substitute a quince or an apple for some of the pear, to make a mixed orchard fruit jam.

Storage
Store jam jars in a cool, dark cupboard. As long as the jars are properly sterilized and sealed, and assuming that the fruit was undamaged, it should keep for several years.
Hints and tips
- Always make sure you use a deep enough pan when making jam. The ingredients should barely come half way up the sides when cold. The mixture will expand and rise up as it heats and you need to be able to keep it on the boil without it boiling over.
- Make sure that your jars are properly prepared for safe preserving. Read my article on how to sterilize jars for preserving if you are unsure.
- You can adjust this pear jam recipe to the quantity of fruit you have available, but if there is a lot of fruit, I would recommend making two smaller batches rather than one very large one. Small batch preserves are always better.
FAQs
Yes – it will make a smoother jam with a far better texture.
No. There is pectin in the fruit and in the lemon juice, so you don’t need to add more.
You can, and you would just need to match the sugar to the prepared weight of fruit, and adjust the lemon juice accordingly.
I do prefer to work in smaller batches with jam, however. Most of us don’t have vast pans at home, and a modest batch is more manageable. If you want more jam and are ore than doubling this recipe, I would separate it into two batches.
More easy jam recipes
- Blackberry and pear jam – another delicious jam with pears
- Easy rhubarb jam – a simple classic
- Easy black cherry jam – delicious with yogurt for breakfast
- A collection of all the best jam recipes
Easy Pear Jam Recipe
Ingredients
- 700 g pears (c. 520 g prepared weight)
- 520 g (2.5 cups) white granulated sugar (equal to the prepared weight of fruit)
- 2 tbsp fresh lemon juice
- a drop or two of vanilla extract or whole spices to taste (optional, exercise restraint!)
Instructions
- Peel and core pears, discarding any damaged flesh. Chop into small pieces.700 g pears
- Put the chopped pear in a bowl and cover with the sugar. Add the lemon juice and any other ingredients, and stir well to combine.520 g white granulated sugar, 2 tbsp fresh lemon juice, a drop or two of vanilla extract or whole spices to taste
- Cover the bowl and leave for a few hours (preferably overnight). If the weather (or the kitchen) is warm, keep in the fridge.
- When you are ready to continue, put sterilized jam jars and lids in the oven to warm on a low heat. Remove any whole spices and put the fruit and sugar mixture into a deep pan over a low heat to dissolve the remaining sugar.
- Once the sugar has dissolved, turn up the heat. Bring the pear jam mixture up to a rolling boil until you reach setting point.
- Pour your jam into heated, sterilized jars. I find it easiest to do this by transferring the jam to a sterilized shatterproof jug and then pouring through a jam funnel.
- Seal with the lids. When the jars have cooled, check that the jars have sealed safely, and store in a cool, dark cupboard.
Notes
Adding spices to pear jam
- Spices – You can add a piece of cinnamon stick, a cardamom pod or two, a small piece of star anise or even cloves to the pear and sugar mixture. Don’t overdo it. Remove the whole spices from the mixture before you start to cook.
- Vanilla – This is a classic combination with pears. If you want to add a little, use vanilla extract or bean paste. Avoid anything called vanilla essence, as this may be artificial and unpleasant. Vanilla extract can vary in intensity so go very carefully. For this quantity of pears, add half a teaspoon to the initial mix and taste the syrup before you boil to check whether you need more. Remember that boiling the jam reduces the volume and concentrates the flavours.
How to test for setting point
This is the only tricky bit of making jam: checking it’s hot enough to set, so that when cool, it will be jam rather than liquid. The temperature test. Digital jam thermometers are widely available, and not expensive. They are much easier to read than traditional jam thermometers. Heat the jam to the setting point (usually 105°C/221°F) and once your jam is there, you know it should be ready.Caution: Use temperature only as a guide. Once the thermometer reads 105°C, I give the jam a good stir to get rid of any hot spots and then test with the wrinkle test. It’s OK for the temperature to go a couple of degrees higher – you can see that the pear jam has reached 106°C in the photo. The wrinkle test. Put a couple of side plates in the freezer before you start work. Once the jam is boiling, start testing by placing some on one of the plates. Allow it to cool on the plate. Then push your fingernail through the jam. If you see it wrinkle up ahead of your finger, it is ready. This technique takes a bit of practice. The flake test. Take a spoonful from the pan and turn it vertically to tip out the jam. If the jam runs off, it hasn’t set. If, however, some sticks to the spoon in a sort of wide drip that doesn’t fall, the jam is ready. Again, this works best with some practice. For more in-depth coverage, read my full guide to jam setting point.
Yield
This recipe yields about 720 ml (around 3 cups or 2 to 3 jars, depending on how big they are).Hints and tips
- Always make sure you use a deep enough pan when making jam. The ingredients should barely come half way up the sides when cold. The mixture will expand and rise up as it heats and you need to be able to keep it on the boil without it boiling over.
- Make sure that your jars are properly prepared for safe preserving. Read my article on how to sterilize jars for preserving if you are unsure.
- You can adjust this pear jam recipe to the quantity of fruit you have available, but if there is a lot of fruit, I would recommend making two smaller batches rather than one very large one. Small batch preserves are always better.





Julia
This looks quite yummy and seems easy enough. I’m guessing that since 520 g = 2.5 cups of sugar, 700 g pears (c. 520 g prepared weight) equals about 3 or 3.5 cups of chopped pears. Would you say this is about four or five large pears?
Helen Best-Shaw
I don’t know as so much depends on how you chop them, so I always go be weight, not volume when cooking
Theresa
This taste like pears. A great recipe. Thank you
andy
this is America, where we not only don’t use grams and such, but don’t want to learn to convert. so I don’t know how good this recipe is, I just moved on
Helen Best-Shaw
Hi Andy, I’m British so we use weighing scales here. For good jam you must weigh as it is impossible to measure accurately with cups.